QUICK FACTS
| Tolerance | ±0.05 mm typical |
| Setup time | 30–90 min first article |
| Target finish | Ra 0.2–0.8 µm |
An automated finishing line is a system, not a shopping list. A robot here and a polisher there do not make a line. The line works only when every station is balanced, every flow is smooth, and every changeover is fast. That starts with design.
This guide covers the design decisions that separate efficient lines from expensive ones. It follows the order you should think in, from throughput to changeover.
Define the Throughput Target First
Everything hangs off one number. How many parts per shift must the line finish? Write it down before anything else. It sets the cycle time budget for every station.
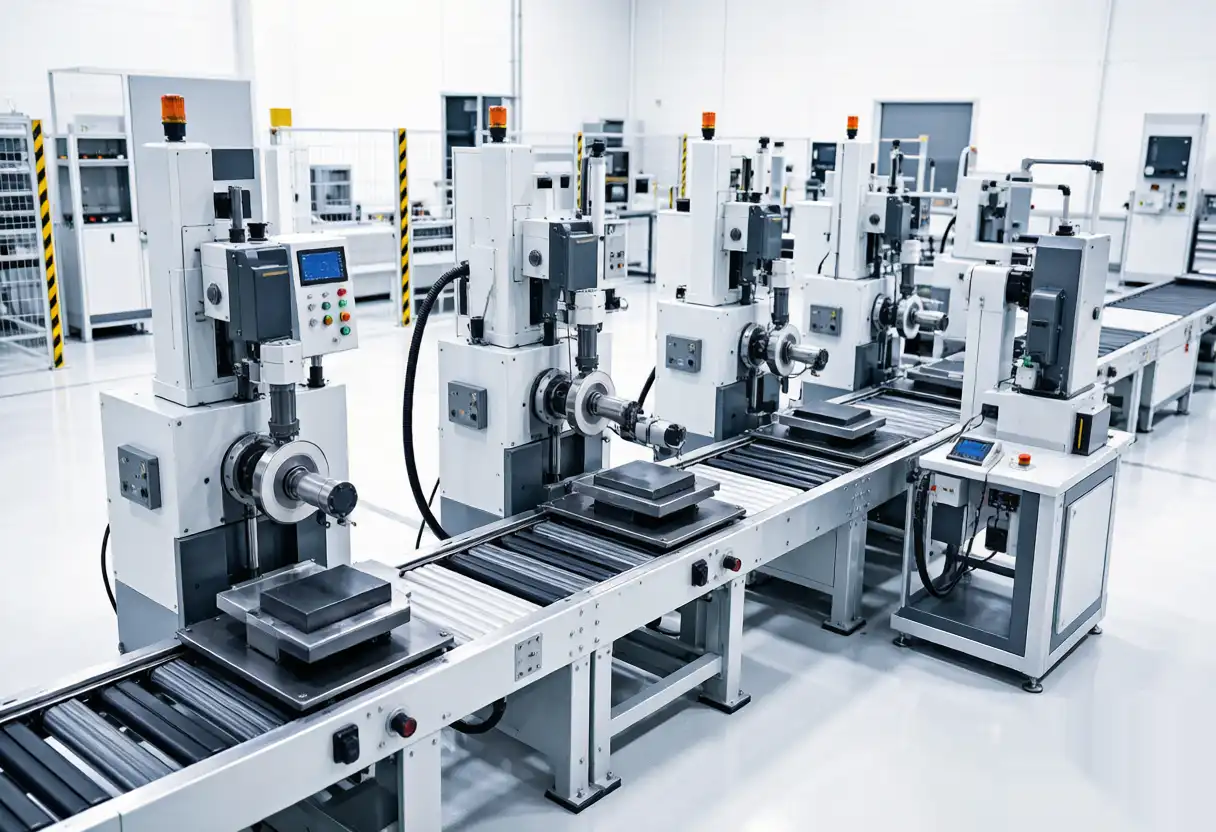
For example, if the line must finish 1,000 parts in 7.5 hours, the cycle is 27 seconds per part, end to end. Each station must fit inside that window. The target decides the layout.
Therefore, start with the real number, not the brochure number. Use your forecast, your best month, and your worst month.
Map the Process Steps
List every step the part needs. Deburr, grind, blend, polish, inspect. For each step, estimate the cycle time and the tooling. This map becomes the line’s skeleton.
In addition, mark which steps are fast and which are slow. The slowest step is the bottleneck. Everything else must match its pace.
Consequently, the design balances around the bottleneck. You do not speed up every station. You make the slow one feed the rest.
Choose the Cell Layout
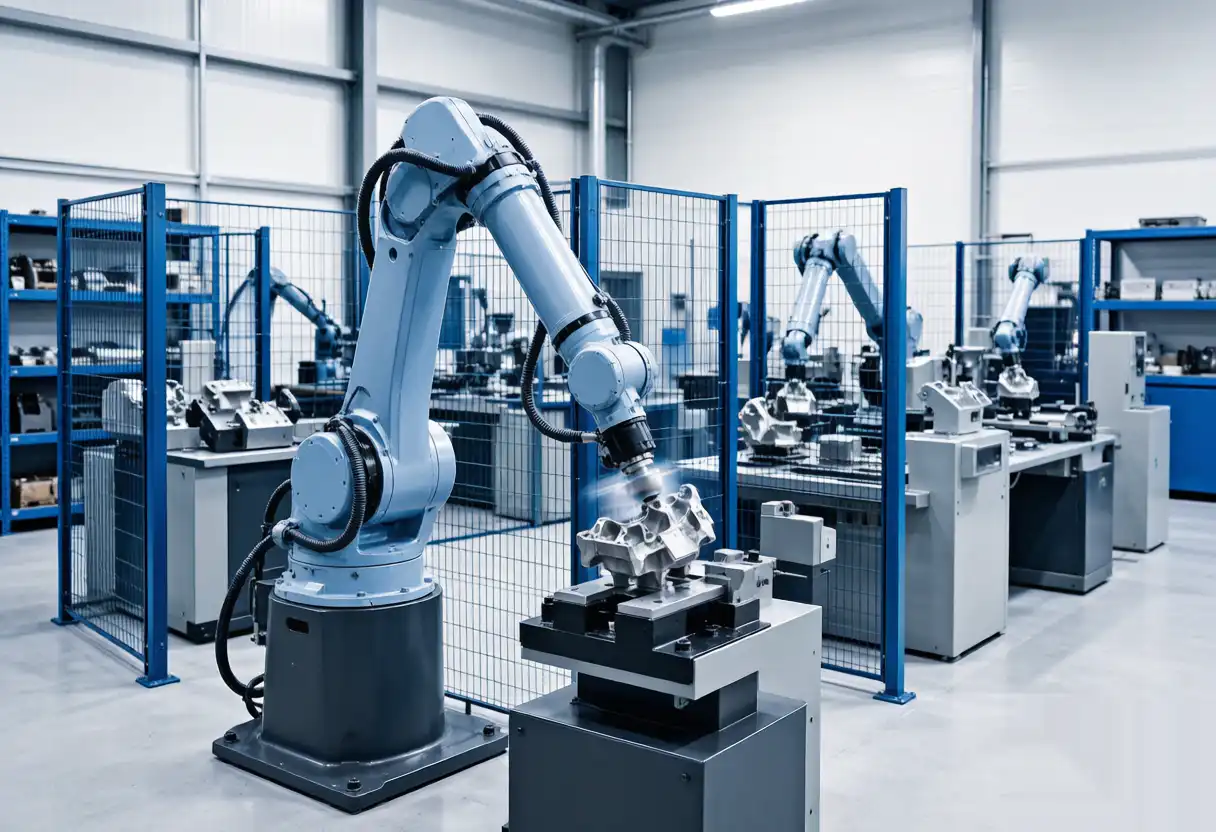
Layout follows volume and mix. A single robot with a rotary table suits medium volume. It loads one side while it works on the other. A twin-station cell doubles the output of a single fixture.
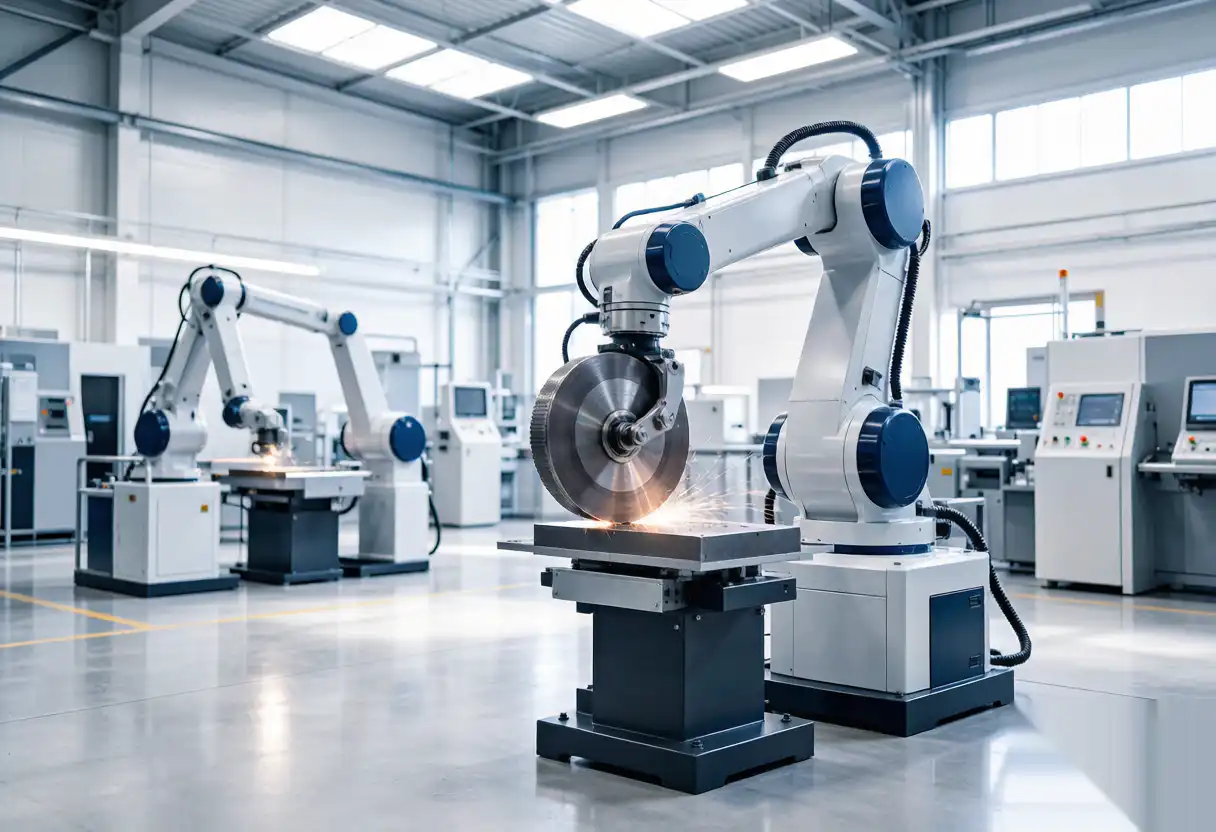
For higher volumes, two robots split the stages. One does the heavy work, the other the finish. They pass the part through a shuttle or a common fixture.
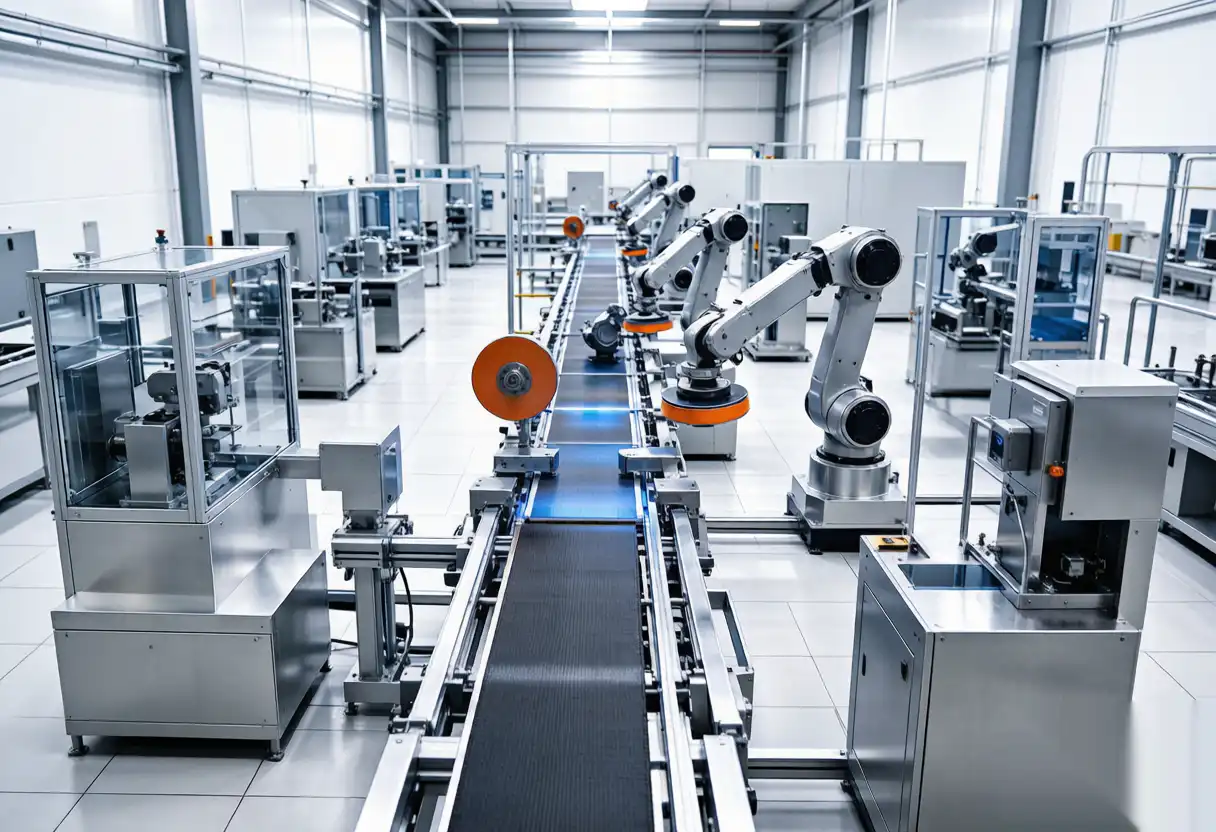
Meanwhile, a linked line with a conveyor suits continuous production. It uses the least labor but needs the most planning. Start simple and grow.
Design the Material Flow
Parts should move in a straight line, or a simple loop, with no backtracking. Each move should be short and automatic. Human handling between stations defeats the purpose.
For example, a shuttle between the grind station and the polish station keeps the part in one fixture. The locating scheme never changes. That single decision removes most variation.
Therefore, design the fixture once and keep it. The same datum carries the part through every stage.
Size the Robots and Tooling
Size the robot reach to the largest part plus the tool offset. Add margin for the fixture and the approach angle. An undersized robot forces awkward paths and missed zones.
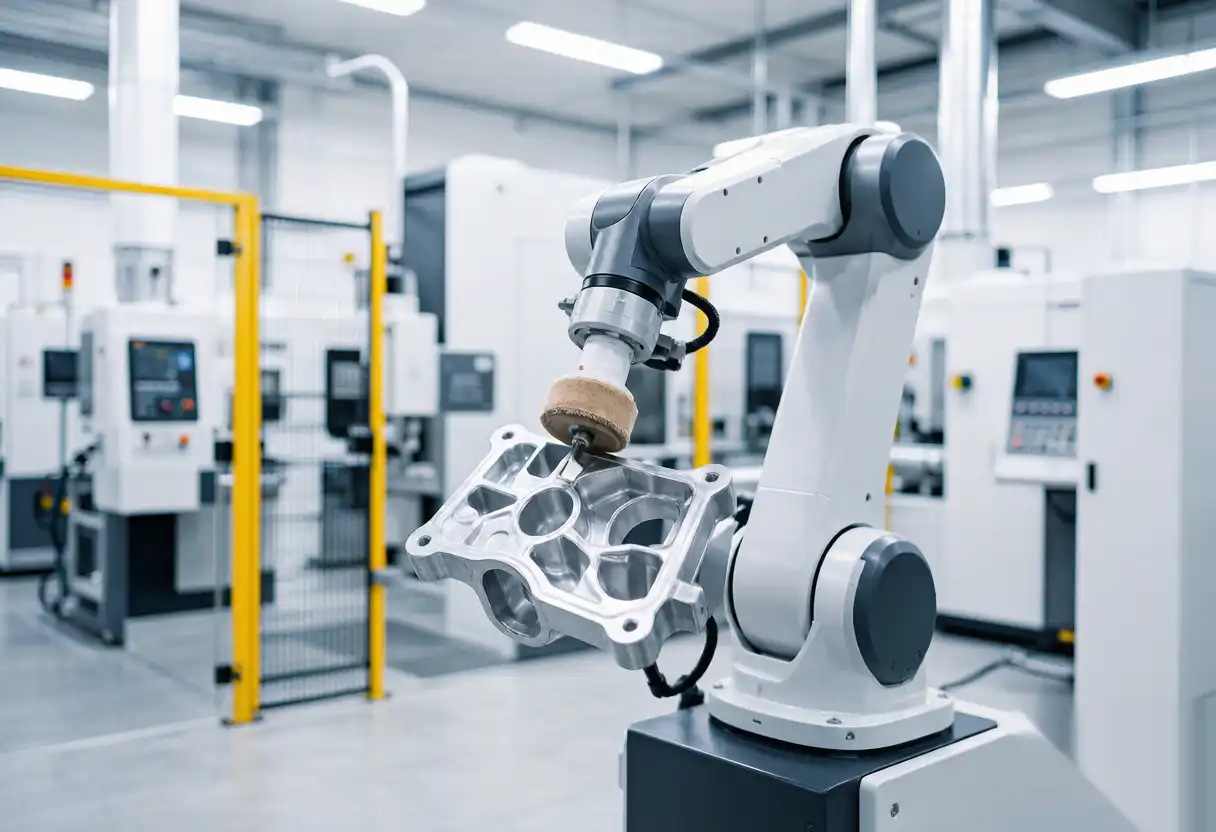
In addition, choose the tools for the worst part, not the average one. A belt head that handles the heaviest flash will breeze through the light work. Force control keeps it gentle.
As a result, the line never strains on the hard parts, and it never damages the easy ones.
Plan the Changeover Strategy
Changeover time is lost production. Plan for it like a process step. Quick-change fixtures mount in minutes. Saved recipes load with one button. The switch should be a fixture swap plus a recipe load.
For example, high-mix low-volume production depends on this. Many small batches with fast changeovers beat a few big batches with long ones.
In addition, standardize the fixture base across part families. Then the same robot program structure works for every part.
Build in Data Collection
A line that measures improves. Track cycle time, first-pass yield, media life, and downtime per station. The data shows the next bottleneck before it stops the line.
For example, consistent automated surface grinding depends on process data. When the belt wears, the force drifts, and the data catches it early.
Consequently, add sensors and counters from day one. Retrofitting data collection is always harder than designing it in.
Common Design Mistakes
- Oversizing the first line. A two-cell line that runs beats a four-cell line that waits.
- Ignoring changeover. A fast line that takes a day to switch parts is not flexible.
- Skipping dust extraction. Fines damage finishes and hurt people. Plan extraction first.
- No spare capacity. The line should run at 80 percent of peak, not 100 percent.
- Forgetting the recipe. Without saved, versioned recipes, the line resets every shift.
Sizing the Fixture and Tooling
The fixture is half of the line’s result. It must hold the part within 0.1 millimeters, expose the work area, and survive the abrasive environment. Cheap fixtures buy scrap, not savings.
For example, a fixture located on datum points rather than the cosmetic face holds the part true even as the finish changes. The same fixture carries the part through every station.
In addition, standardize the fixture base across part families. Then the same robot programs and grippers work for every part. New parts need new jaws, not a new system.
Balancing the Stations
A line is only as fast as its slowest station. Balance the cycle times so no station waits and no station starves. The design should target 80 percent of peak, leaving headroom for wear and changeover.
For example, if grinding takes 30 seconds and polishing takes 20, the grinding station defines the pace. The polish station can idle slightly, or the line can add a second grind fixture.
Therefore, measure each stage’s real cycle during commissioning, not on paper. Adjust the balance with buffers and shuttle timing until the flow is smooth.
Operator Interface
The operator screen is the line’s front door. It should show the current part, the cycle count, the next changeover, and any alarms. A clear screen cuts training time and errors.
For example, a screen that tells the operator the belt has 200 parts left prevents the worn-belt surprise. The operator changes it during the break, not after a bad batch.
In addition, keep the interface consistent across cells. An operator who knows one cell can run them all. That flexibility matters on sick days and holidays.
Commissioning and Ramp-Up
The line is not finished when the robot moves. Commissioning covers safety tests, cycle timing, and the first article run. Ramp-up takes the line from sample parts to full rate in steps.
For example, run the first week at 50 percent of target. Measure yield and cycle at every stage. Fix the issues, then step up to 80 percent, then 100. Each step proves the last one.
In addition, use the ramp-up to train the operators. They learn the line on real parts at a gentle pace. The training and the ramp-up end together.
Long-Term Efficiency Habits
Efficiency is a habit, not a setting. Review the line’s data weekly. Change media on schedule. Calibrate the force sensors monthly. Keep the fixtures clean and the guarding tight.
For example, a line that holds 95 percent uptime does not happen by accident. It happens through a weekly review that catches drift before it becomes downtime.
Therefore, assign one owner to the line. One person owns the data, the recipes, and the improvement list. The line improves because someone is accountable for it.
Frequently Asked Questions
How long does it take to design and build a line? Eight to sixteen weeks for a typical two-station line, depending on fixtures and integration. Plan the first build as the learning curve.
Can I start with one station and grow? Yes. Design the footprint and the fixture standard for two stations, install one, and add the second when the volume is proven.
Do I need an engineer on staff? A trained operator and one technician are enough for most lines. Recipe tuning needs some support at the start.
What if my parts change? Polishing and buffing automation stays flexible through quick-change tooling and recipes. New parts need new fixtures, not a new line.
How much space does a line need? A two-station line fits in roughly 40 to 80 square meters, including guarding, extraction, and buffer racks. Plan the footprint before ordering the robots.
What is the biggest cost surprise? Integration. Wiring, guarding, extraction, and commissioning often cost as much as the robots. Budget for them from the start.
How do I know the line is efficient? Track overall equipment effectiveness weekly. Uptime, cycle time, and first-pass yield together tell the true story.
Should I automate loading too? Only when the volume justifies it. Manual loading with a well-designed fixture is fine up to several hundred parts per shift. Automation of loading adds cost and complexity.
What if the line must handle two very different parts? Design separate fixtures and recipes, and schedule them in batches. A flexible line switches in minutes, so the mix stays profitable.
How do I measure the line’s true cost per part? Add labor, consumables, energy, and allocated maintenance, then divide by good parts shipped. Review it monthly, and the trend shows every improvement.