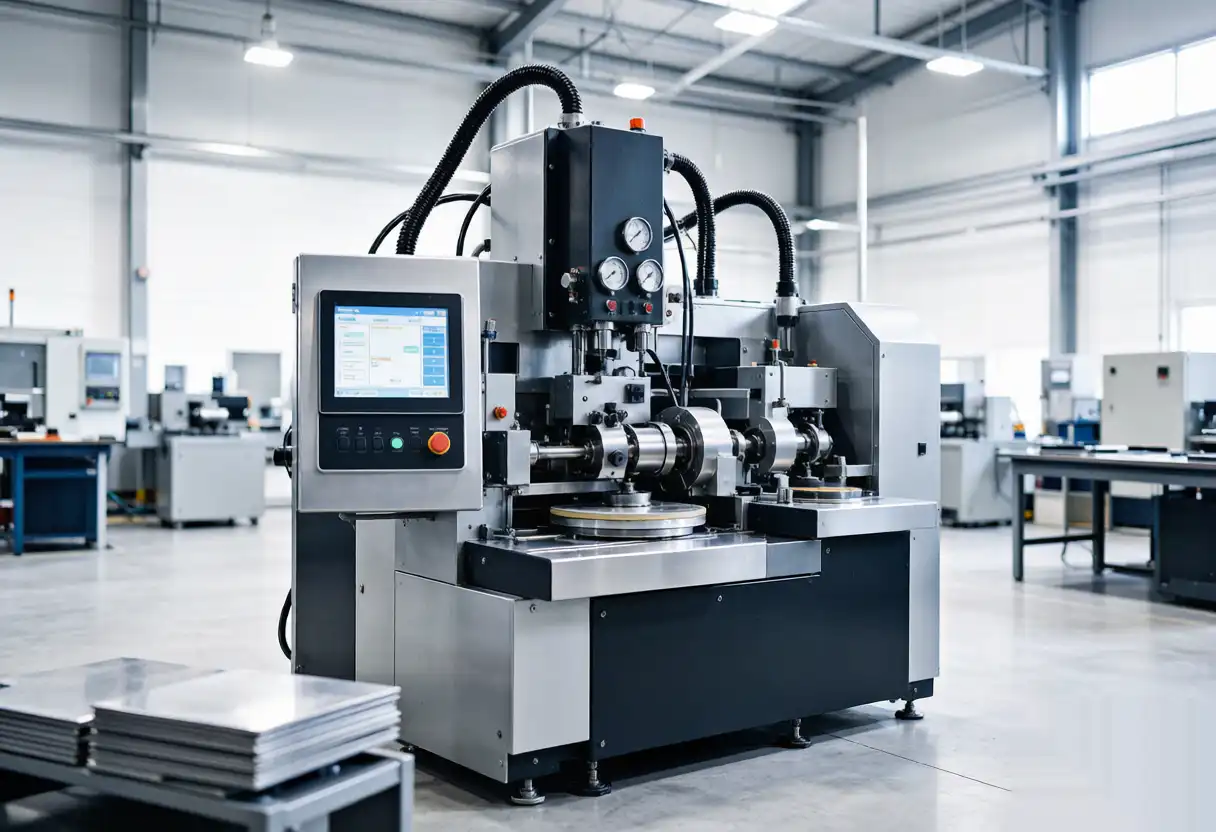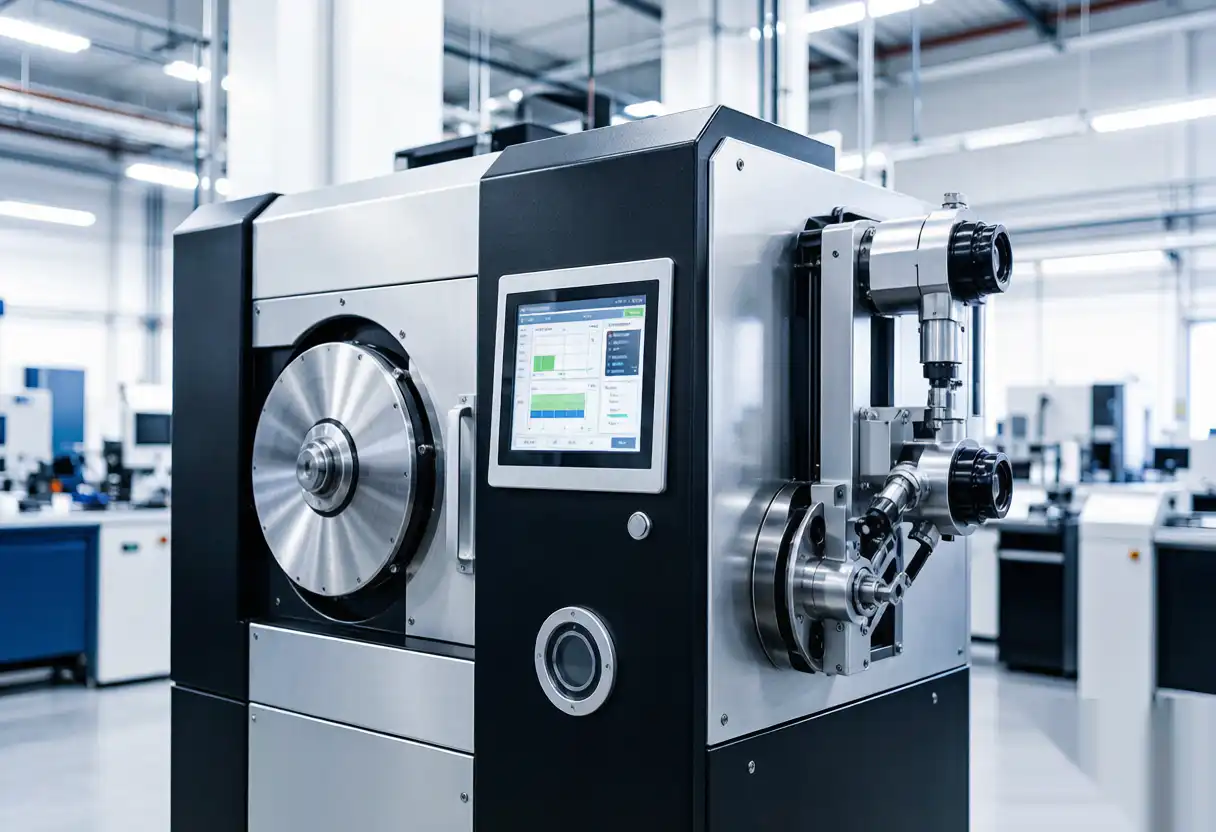
AT A GLANCE · An end-to-end surface finishing line takes a rough casting in one end and delivers a finished part out the other. No one moves it by hand between stages. No one decides mid-line that the surface is good enough. The whole journey is planned, programmed, and repeated.
However, end-to-end does not mean one machine does everything. It means the stages are linked and balanced. Each one prepares the surface for the next. This article walks through every stage, in order.
What End-to-End Finishing Means
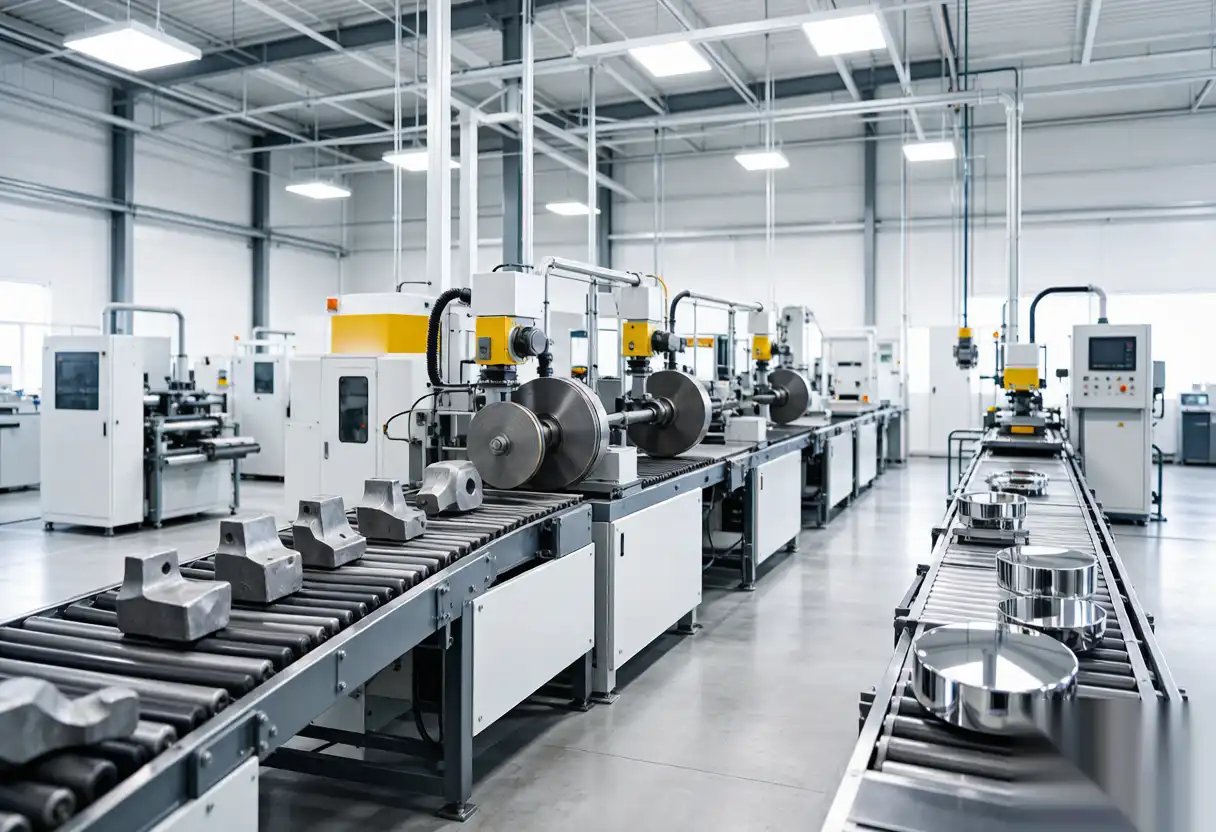
End-to-end finishing connects deburring, grinding, blending, and polishing into one flow. The part moves through each stage without leaving the cell. One fixture philosophy carries it from start to finish.
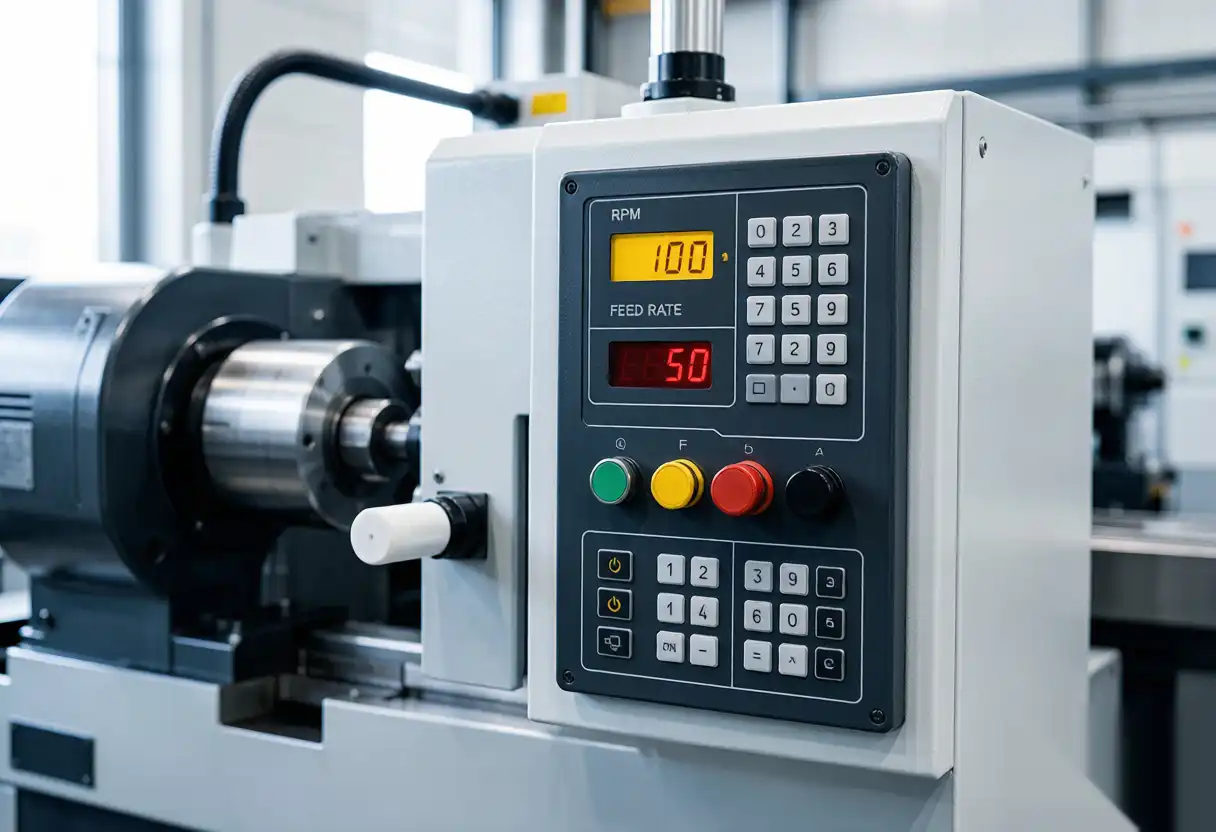
Therefore, the system is designed as a whole, not as separate machines bolted together. The bottleneck of one stage limits the whole line. Balance matters more than peak speed.
Stage 1 — Deburring
Deburring removes flash, sharp edges, and small defects. It is the first touch because it protects everything downstream. A burr that survives into polishing will tear the media and streak the surface.
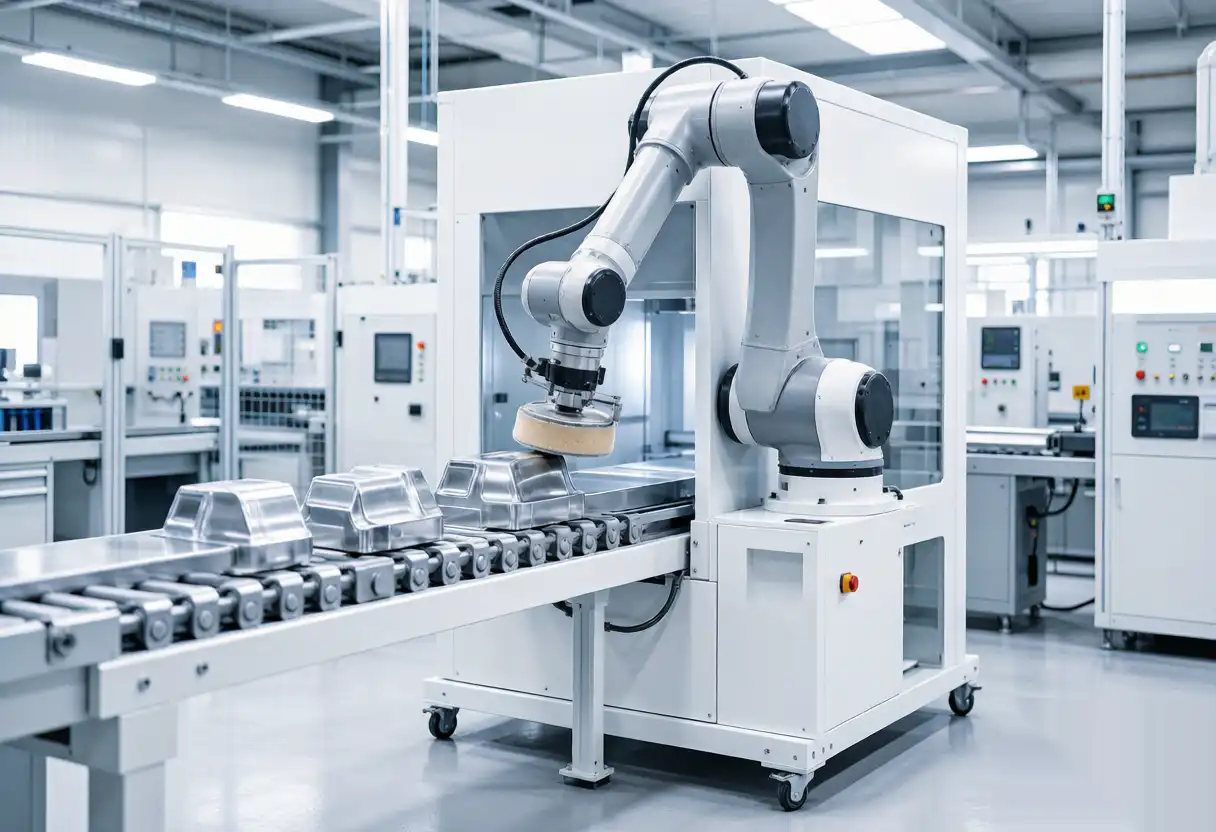
For example, a compliant brush cell blends edges and holes in seconds. The robot follows the contour, so the cut stays even on curved parts. The result is a clean base for the next stage.
As a result, the line runs smoother when deburring is complete. Small defects do not snowball into big ones.
Stage 2 — Grinding
Grinding removes the gross material. Gates, risers, and heavy parting-line flash all die here. This is the aggressive stage, where most of the metal comes off.
However, grinding must be consistent. If one part loses more material than the next, the polish cannot fix it. Force control keeps the cut even as the belt wears.
In addition, grinding sets the geometry. The closer the part comes to net shape here, the less work polishing has to do.
Stage 3 — Blending
Blending smooths the transitions. It softens the marks left by grinding and brings the surface toward a uniform texture. This stage hides the line between removed flash and original cast surface.
For example, a medium-grit pass with a compliant wheel blends the boundaries. The operator never touches the part. The recipe controls the overlap and the pressure.
Therefore, blending is the bridge between cutting and polishing. It is easy to skip and hard to fix later.
Stage 4 — Polishing
Polishing delivers the final look. Fine grits build the shine. Compound carries the abrasive and keeps the surface cool. The last pass defines the finish the customer sees.
Automated mirror polishing lives here. The robot holds the same pressure and speed on every part, so the mirror is the same on part one and part one thousand.
Meanwhile, media management matters. A loaded wheel burns the surface in minutes. Scheduled changes keep the shine consistent.
Stage 5 — Final Inspection and Protection
The last stage checks the work. A vision camera or a simple gauge verifies the finish. Some lines add a protective coat to stop fingerprints and oxidation.
In addition, inspection data feeds back. If the finish drifts, the line flags it before a bad batch ships. That closes the quality loop.
Consequently, the line does not just make parts. It proves the parts are good.
Why the Order Matters
The order is not optional. Cutting before polishing is the only sequence that works. If you polish first, the heavy work damages the finish and the media.
For example, two-in-one grinding and polishing solutions combine stages in one footprint. They work because the stages still run in order. The machine just saves space and handling.
Therefore, respect the sequence. Each stage earns the next one’s consistency.
Building the Line
Start with the part family and the throughput target. Then design each stage to meet it. A twin-station robot can load while it works. A conveyor or shuttle links the stations.
In addition, plan the changeover. Quick-change fixtures and saved recipes let the line switch parts in minutes. That flexibility matters more as volume grows.
For high volumes, a casting-to-polishing production line shows the full picture. Casting feeds finishing, finishing feeds assembly, and no one touches the part in between.
Choosing the Fixtures
The fixture carries the part through every stage. It must locate the casting on datums, expose the surfaces to finish, and clear the robot path. One fixture philosophy should hold from deburring to polishing.
For example, a fixture that locates on the same two datum points at every stage removes the biggest source of variation. The part never shifts between stations, so the finish never shifts either.
In addition, design the fixture for quick change. The line switches part families in minutes, not hours. The fixture rack becomes the line’s real product catalog.
Automation Software and Recipes
Every stage runs on a recipe. The recipe holds the path, the force, the speed, and the media for that stage and that part family. The line loads the full set with one command.
For example, a changeover from faucet bodies to housings loads six recipes, one per stage, in seconds. The operator verifies the fixture and starts. The software does the rest.
Therefore, the recipe library is the company’s process knowledge. Version it, back it up, and train more than one person to use it.
Running the Line Day to Day
A balanced line runs with one or two operators. They load parts, watch the screens, and swap media on schedule. The daily rhythm is calm because the process is repeatable.
However, the operator’s judgment still matters. They catch a worn belt before it streaks, and they flag a recipe drift before it makes scrap. Train them to trust the data and check the part.
Consequently, the line improves through a simple loop. Run, measure, adjust, save. The weekly review of yield and downtime drives the next small change.
Common Line Mistakes
End-to-end lines fail in predictable ways. The most common is an unbalanced cycle. One slow stage starves the next, and the line runs at half speed. Measure every stage during commissioning.
For example, a deburr stage that runs 40 seconds while polishing needs 25 leaves the robot waiting. The fix is a second deburr fixture or a shared buffer, not a faster robot.
In addition, lines fail when the fixtures drift. A locating point that wears slowly moves the part, and the finish moves with it. Add fixture checks to the daily routine.
When to Choose a Line Over a Cell
A single cell makes sense when volume is modest or parts change often. A line makes sense when volume is steady and the process is stable. The crossover is usually a few hundred parts per shift.
For example, a foundry shipping 400 identical housings a shift justifies a line. One running 60 mixed parts a shift is better served by a flexible cell. Match the architecture to the flow.
Therefore, let the part family and the forecast decide. A line that idles is a line that loses money.
Frequently Asked Questions
How many robots does a full line need? Usually two to four, depending on the part and volume. One for heavy work, one for finish, and often a shared load station.
Can I add stages later? Yes, if you design the line with spare capacity. Leave room for extra stations and extra conveyors from day one.
What finish can the line reach? From heavy deburr to near-mirror, based on the abrasive sequence. Mirror on porous castings is the hardest case and may need densification first.
Who runs the line? One or two operators tend the whole line. They load parts, watch the screens, and swap media on schedule.
What if one stage breaks down? The line should handle it. Design each station with a manual bypass or a buffer, so one stop does not idle everything downstream.
How do I keep the finish consistent over time? Track media life, force trends, and yield weekly. The recipe that drifts shows up in the data before it shows up in the parts.
Is a full line worth it for medium volume? Yes, if the stages are balanced and shared. A two-station line with quick changeovers often beats a bigger line that runs half the time.
Do I need a separate operator per stage? No. One or two operators run the whole line. The stages are automatic; the operator manages the flow and the changeovers.
How do I handle different finish levels? Save a recipe set per finish class. Satin, bright, and mirror each have their own abrasive sequence and force table. The line switches with the order.
What is the maintenance rhythm? Daily checks cover air, extraction, and tool wear. Weekly reviews cover media and compound levels. Monthly calibration covers force sensors and fixtures.