QUICK FACTS
| Cell footprint | 2.5–6 m² |
| Changeover | <15 min between SKUs |
| Media life | 60–180 parts/belt |
Door handle polishing automation follows eight practical steps from sample analysis to scale-up, and each step prevents a specific failure mode that stalls hardware plants’ projects. Handles combine long curved levers with flat roses and tight corners, so the route you choose must respect geometry before it respects budget. Automatic polishing machines supply the hardware; this walk-through supplies the method.
What Makes Handles a Distinct Polishing Problem
A lever handle is a long, slender, curved part with an appearance surface on every visible face. Unlike a bracket with one show surface, a handle must look uniform as the eye travels along its whole length.
The rose — the round plate behind the lever — adds a second geometry class in the same product. Flat, thin, and often stamped or cast, it polishes on a different path logic than the lever.
Finish classes vary by market too. Commercial satin hardware needs a consistent grain; residential polished brass needs a mirror with no drag lines. Some plants run both classes on the same line.
Step 1 — Analyse the Sample Set
Start by collecting every handle and rose you intend to automate. Lay them out by alloy, size band, and finish class. Most plants discover the range is narrower than the catalogue suggests — five to eight distinct families cover the volume.
For each family, record the critical zones: the lever crest, the neck where lever meets rose, corner radii, and any knurling or grooves. These zones dictate tool reach and path count.
Reject, for now, any part under five hundred units per year. Automation economics collapse on those, and they belong on a manual bench.
Step 2 — Classify the Finish Requirement
Group families by target finish, not by part number. A single process route usually covers all satin handles; a second route covers polished versions.
For each class, define acceptance in measurable terms: Ra band, grain direction, and allowed visual defects per surface. Vague standards like “looks good” make later acceptance arguments unresolvable.
Confirm the spec with your biggest customer if you can. Their inspectors’ interpretation is the one that matters.
Step 3 — Map the Process Route
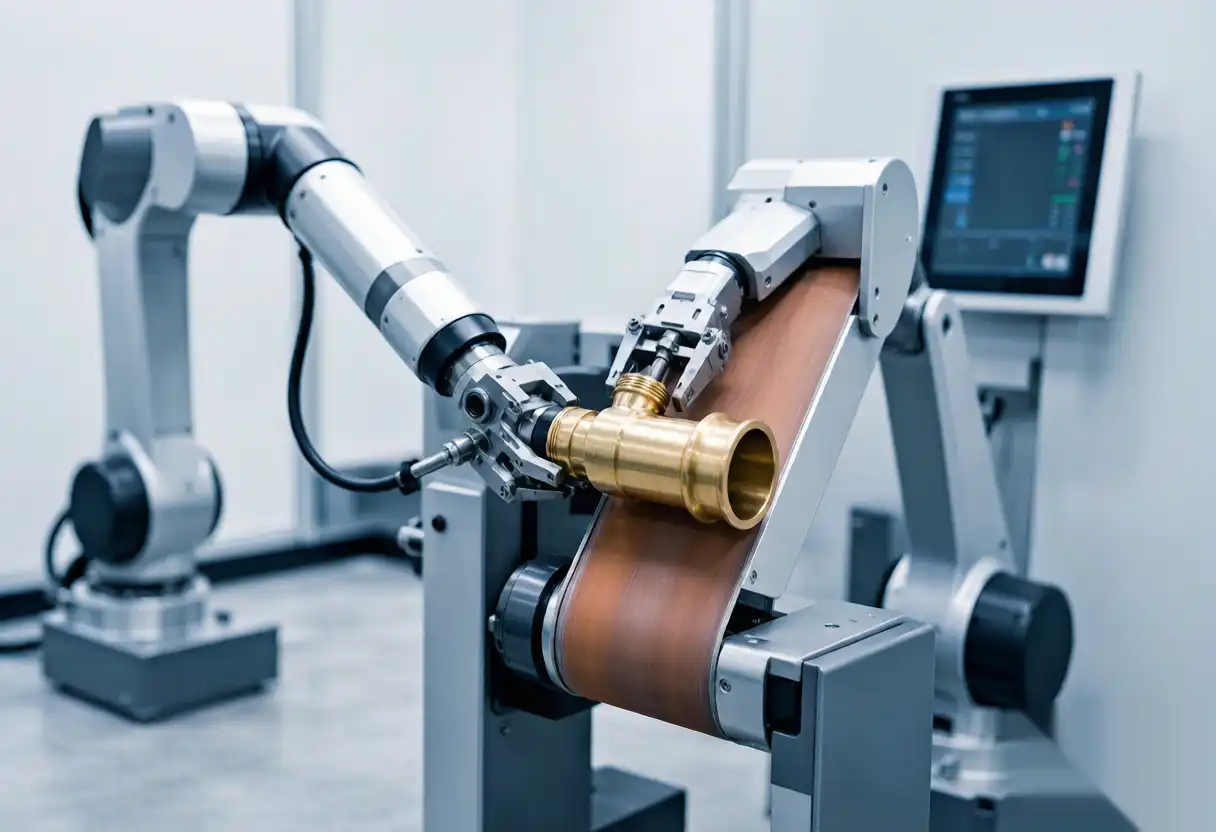
A typical satin handle route runs three stations: a cut pass on a belt to erase casting texture, a satin pass with a Scotch-Brite-type belt to lay the grain, and a brush pass to even edges and corners.
A polished route adds a colour pass on a cotton mop with compound before a wipe station. The mirror route takes roughly thirty percent more cycle time than satin on the same geometry.
Roses usually ride the same stations on different fixtures. Keep them in the route plan from day one; retrofitting roses later is the most common scope miss in these projects.
Step 4 — Select the Machine Tier
Equipment comes in three practical tiers for handle volumes. Match the tier to your daily output, not to your ambition.
| Tier | Configuration | Daily Output | Best Fit |
|---|---|---|---|
| Entry | Single robot, 2 spindles, manual load | 800–1,500 pcs | Pilot projects, low volume |
| Mid | Single robot, auto tray feed, 3 stations | 1,500–4,000 pcs | Most hardware plants |
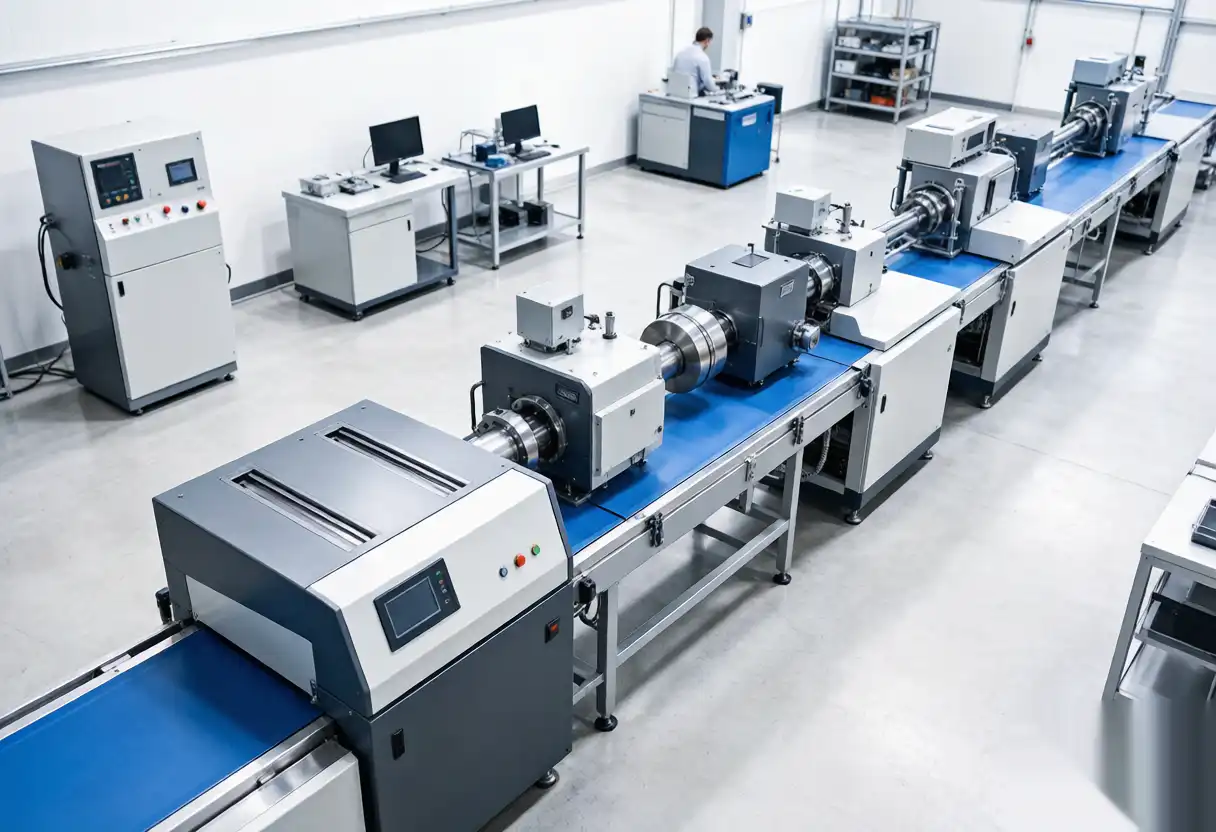
| High | Dual robot line, wash, vision gate | 4,000–10,000 pcs | Export volume, big OEM contracts |
The mid tier fits the majority of door-hardware plants. It amortises the robot properly while leaving a growth path, and it trains your crew before a line arrives.
Step 5 — Design the Fixtures
Handles clamp by the lever root and the spindle boss, leaving the show surfaces clear. A spring-loaded nest with hard stops holds the slender lever without chatter at belt speeds.
Roses locate on a three-pin nest and clamp with a top plate. One pallet carries both handle and rose positions, so a mixed tray runs the same cycle.
Insist on hardened inserts at clamp points. Finishing fixtures live in abrasive dust, and a worn clamp shows up as finish drift months later.
Quick-change is non-negotiable: under ten minutes from one family to the next, with zero tools. Measure it during acceptance, not from the brochure.
Step 6 — Program and Tune
Programming a handle follows the zones from step 1. Teach the crest path first, then the flanks, then the neck blend. Corners come last because they borrow parameters from the flanks.
Tune force before speed. Most satin defects trace to over-force that digs the belt into the curve. Start at eight newtons and walk down until grain just forms, then add speed.
Run a thirty-part tuning batch across the fixture’s nest positions before calling any path done. A path that only works in nest three is not a path.
Step 7 — Accept the Cell Properly
Acceptance repeats the tuning batch at production cadence: one hundred parts, in-family mix, normal operator, normal compound supply.
Measure Ra on crest and flank at five positions. Check grain direction visually under fixed lighting. Run the parts your inspector would reject past the customer’s standard if possible.
Time the changeover between the two largest families and record tool wear after the run. These numbers become your baseline for maintenance planning.
Only then sign. A cell accepted on hand-picked samples will disappoint on Monday.
Step 8 — Scale With Confidence
With one cell proven, scaling is repetition: add the second machine of the same tier, clone the programs, and cross-train a second operator. Most plants reach two-cell operation within a quarter.
Add wash and packaging when volume justifies them — usually past four thousand parts per day. Vision gates come when escape costs, measured in customer claims, exceed the camera price.
Complete workshop automation extends the same method to the surrounding steps, and top robotic surface finishing applications show where other plants took it next.
Failure Modes and Their Early Warnings
Handle projects fail in three predictable ways, and each sends early signals you can watch for. The first is fixture scope creep — the sample set from step one quietly grows to fifteen families, and changeover erases the automation’s gain. The signal: changeover logs trending past twenty minutes.
The second is finish-spec ambiguity. When satin acceptance stays verbal, the cell chases a moving target and the customer keeps rejecting parts that match the last accepted batch. The signal: acceptance disputes that reference photos instead of numbers.
The third is consumable neglect. Wheels stretch past their life, gloss drifts, and the plant blames the robot. The signal: Ra trend lines that bend at the same wheel age, every time.
Each warning appears weeks before the failure. A weekly look at changeover times, acceptance disputes, and Ra-versus-wheel-age turns all three into scheduled fixes instead of project crises.
Consumables and Spares That Keep the Cell Running
Handle finishing burns belts, mop wheels, and compound steadily. Budget belts by family-hour — the satin route consumes a belt every six to ten operating hours on hardened brass, the mirror route adds mop wear on top.
Stock by lead time, not by price. Specialty mops and satin belts import through distributors with multi-week gaps; a stock-out costs a day of output against a shelf cost measured in cents per day.
Dress the mops on schedule. A dressed wheel at mid-life outperforms an undressed new one on finish consistency, and dressing costs one minute per cell per shift.
Keep one of every critical spare — spindle fuse, gripper pad, nest insert — at the cell. The parts that stop the line are rarely the expensive ones.
Safety and Guarding for Polishing Cells
Polishing cells spin wheels at the edge of their safe speed and throw compound mist while they work. Guarding rated for the spindle speed, interlocked access doors, and extraction sized to the compound load are the non-negotiable three.
Emergency stop placement follows the operator’s path: at the load side, at the door, and at the HMI. An e-stop that requires walking around the cell is an invitation to reach over a running spindle instead.
Dust from satin belts is combustible in concentration. Extraction design and housekeeping schedules should acknowledge that honestly; it is a routine engineering input, not a panic item.
Train operators on the interlock logic explicitly. The classic accident in polishing cells is a bypassed door interlock during a jam, and a two-minute explanation prevents it.
Reading the First Three Months of Production
The first quarter of running data tells you more about the cell than any commissioning report. Watch three trends: output by day, which shows whether ramp assumptions were honest; reject reasons, which should shift from “finish variation” to “casting defects”; and changeover minutes, which should flatten as the crew internalises the staging habit.
Compare reject costs month over month rather than against the manual baseline alone. The manual baseline flattered itself — its rework hid in buffer stock where nobody counted it.
Schedule a day-one retrospective at week twelve with the original team. The fixes agreed there, with three months of data behind them, are worth more than any consultant’s visit.
Eight steps, done in order, turn door handle polishing from a skilled-bench dependency into a repeatable process. Plants that skip steps usually end up paying for them twice — once in rework, once in re-commissioning.
Tooling and compound choices should be confirmed against your alloy and finish target.