Classifying Burrs on Die Cast Parts: Type, Cause, Removal Path
Why a burr taxonomy pays off on the cell floor
Most deburring problems are not deburring problems; they are identification problems. A shop that calls every fin a “burr” and routes every part to the same robot cell is paying to fight the hardest burrs with the wrong tool. If you can name the burr, you can predict where it came from, how hard it is to reach, and which process removes it cheapest. That is the point of a taxonomy: it turns a vague complaint into an engineering decision with a cost.
On die cast parts we see four dominant burr families, each tied to a specific stage of the casting and trimming process. Getting the classification right at the first-off inspection is what lets a DZ cell route a part to the correct station instead of running a universal, slow, over-tooled pass.
The four burr families
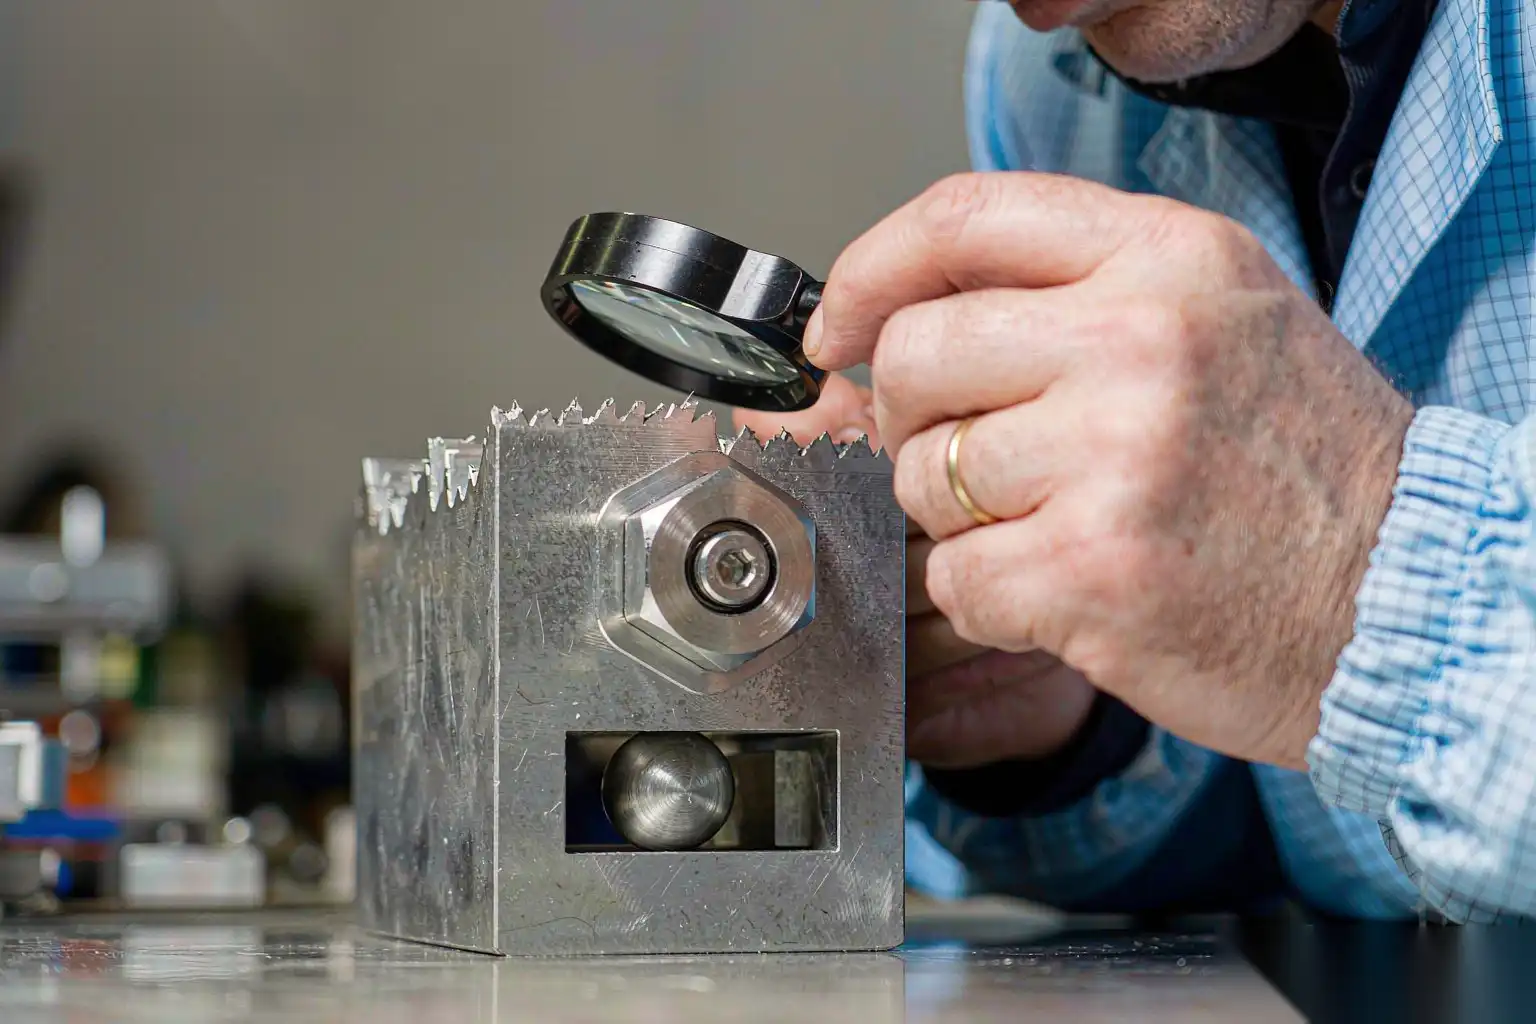
Poisson burrs
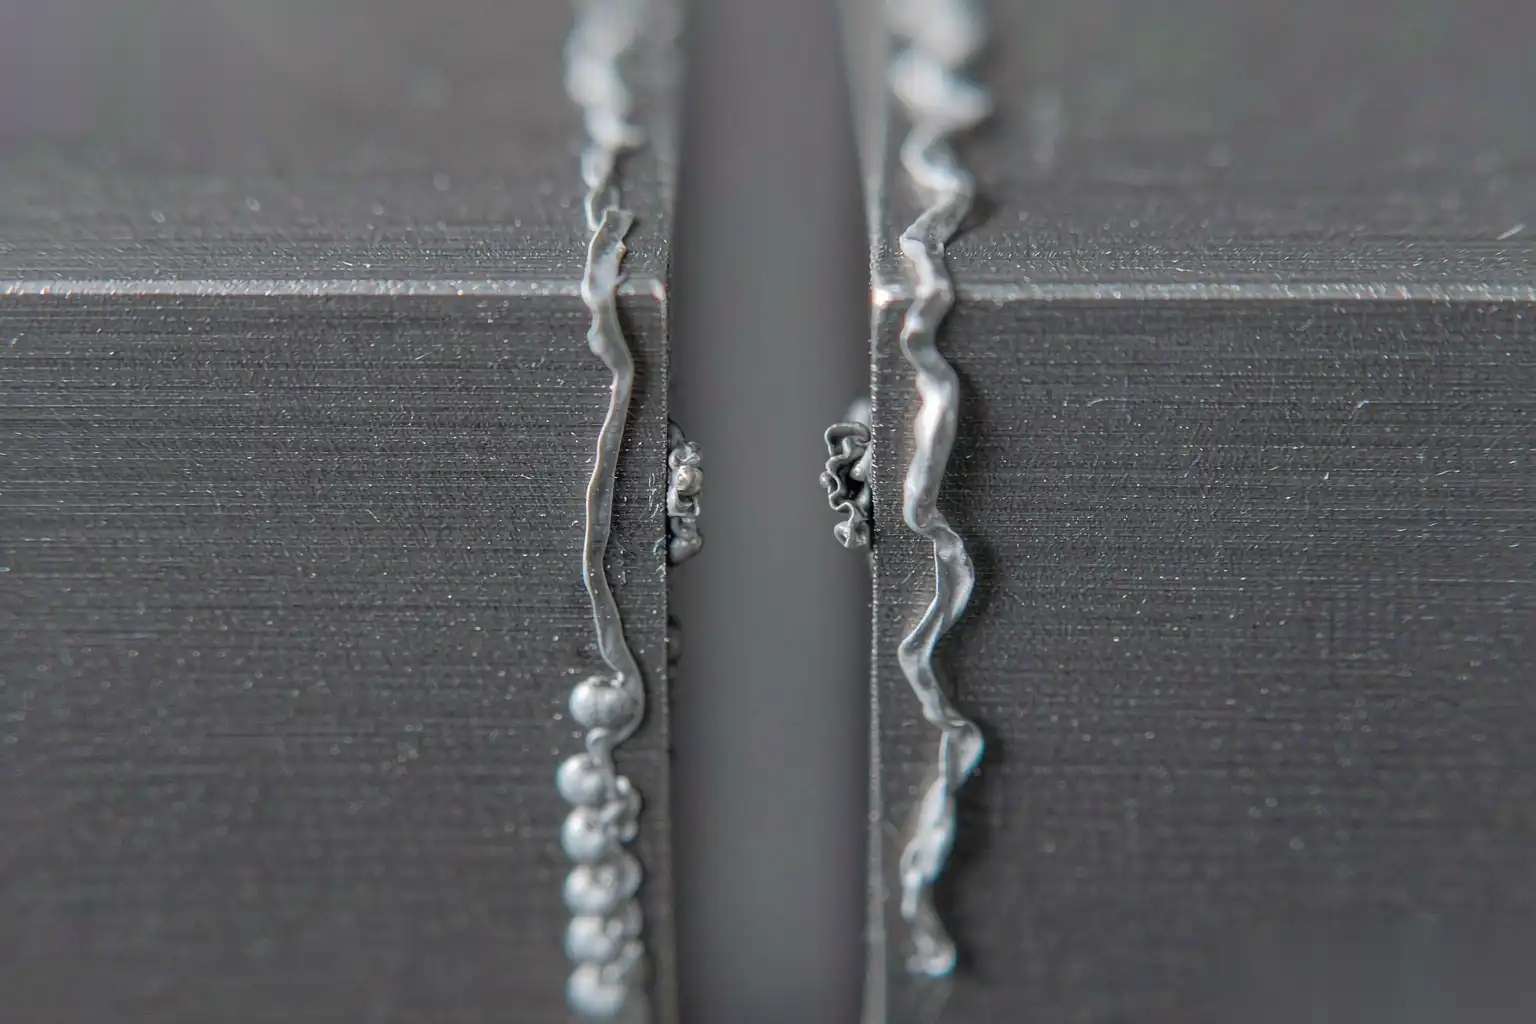
A Poisson burr forms when metal is squeezed out of a clearance, named after the Poisson effect of lateral expansion under compressive load. On a die cast part this shows up at the parting line and at slide partings, where molten aluminum is forced into the die-parting clearance under 30 to 120 MPa of injection pressure. Because the clearance is typically 0.02 to 0.08 mm, the fin is thin, 0.05 to 0.3 mm, and long along the parting line.
Poisson burrs are the most common and the most reachable. They sit on an external edge, they are thin, and a brush or a light robotic pass removes them in 2 to 8 s per edge. They are also the burr most easily prevented by tightening the die parting and the slide fit.
Rollover burrs
A rollover burr appears after trimming, not casting. When the trim press or the CNC cutter shears the gate or the flash, the metal at the cut edge does not sever cleanly; it rolls over and leaves a lip 0.1 to 0.6 mm high on the exit side. You see this at gate scars cut by a punch and at drilled edges where the drill exits into a void.
Rollover is thicker than a Poisson fin and sits proud, so it needs more aggressive removal: a grinding pass at 30 to 70 N rather than a brush. It is also the burr most tied to tool condition; a trim punch past 50,000 to 200,000 strokes rolls more metal.
Tear burrs
A tear burr is a ragged, partially attached sliver left when the metal fractures instead of shears. It happens when the trim tool is dull, misaligned, or when the casting is cold and brittle at the gate. The burr is irregular, 0.2 to 1.5 mm, and often has a weak attachment on one side and a torn root on the other.
Tear burrs are the ones that fail leak tests, because the torn root leaves a micro-channel. They need a firm grind to remove the root, not a brush that just bends the sliver. We treat tear burrs as a process alarm: their presence usually means the trim die or the gate design needs attention.
Thermal burrs from parting and ejection
A thermal burr is not a mechanical fin; it is a small re-solidified bead at the die parting or at an ejector pin mark, formed when a thin film of metal flashes into a gap, freezes instantly, and then a later thermal cycle leaves a tiny raised nub. These are small, 0.02 to 0.15 mm, but they sit at features like ejector pin locations and parting ledges where a robot brush cannot always reach.
Thermal burrs are the ones that thermal energy method (TEM) removes best, because they are internal or ledge-bound. They are also reduced by controlling die temperature to a 180 to 260 °C band and by polishing the parting faces.
Where each burr originates in the process
Table 1 maps the burr to its process origin so the inspection note can point upstream.
| Burr type | Process origin | Typical location | Reachability |
|---|---|---|---|
| Poisson | Injection into parting/slide clearance | Parting line, slide edges | External, easy |
| Rollover | Trim or drill exit shear | Gate scar, drilled holes | External, moderate |
| Tear | Dull or cold trim fracture | Gate, heavy section cut | External, firm cut |
| Thermal | Flash re-solidify at parting/ejector | Ejector marks, ledges | Internal/ledge, hard |
The parting line is the largest single source because it runs the full perimeter. The gate scar is the second because it is the thickest section and the trim load is highest there. Ejector pin marks are localized but recurring, and they sit on faces that often matter for appearance or flatness.
Hardness and reachability drive the method
Two properties decide the removal method: how hard the burr is to cut and whether a tool can touch it.
Hardness tracks the parent alloy. An aluminum A380 burr cuts at 30 to 70 N on a belt. A zinc burr is softer, 20 to 50 N, and a stainless cast burr is harder, 50 to 120 N. Reachability is independent of hardness: a thermal micro-burr at an ejector mark under a ledge may be soft but unreachable by a spindle.
A useful way to think about reachability is the tool-envelope test. A robotic spindle with a 20 mm diameter flap wheel can reach any external edge within 15 mm of an open face, but once the burr sits more than one tool-radius inside a cavity, the contact angle flattens and the cut falls below 20 percent of nominal. Below that threshold we stop calling it a grind and call it a thermal or tumble job. The same test applies to cross-holes: a 6 mm bore intersected by another 6 mm bore leaves a crown at the junction that no standard brush enters, so it is automatically an internal class regardless of how thin the fin is.
We score every burr on a simple grid:
- Reachable and thin: brush or light robot pass.
- Reachable and thick: robotic grind, 30 to 120 N by alloy.
- Unreachable and thin: thermal energy method.
- Unreachable and thick: redesign the feature; no process removes a 1 mm internal burr cleanly.
The grid is what prevents a shop from spending 40 s brushing a rollover that needed a 12 s grind, or hand-filing a thermal burr that TEM clears in one batch.
Measuring burr size on the shop floor
Classification is only useful if it is repeatable, and repeatability needs a measurement method good to 0.02 mm. We use three tools depending on the class:
- Optical comparator or microscope at 10x to 50x for Poisson and thermal fins under 0.3 mm, measuring fin height against a reticle.
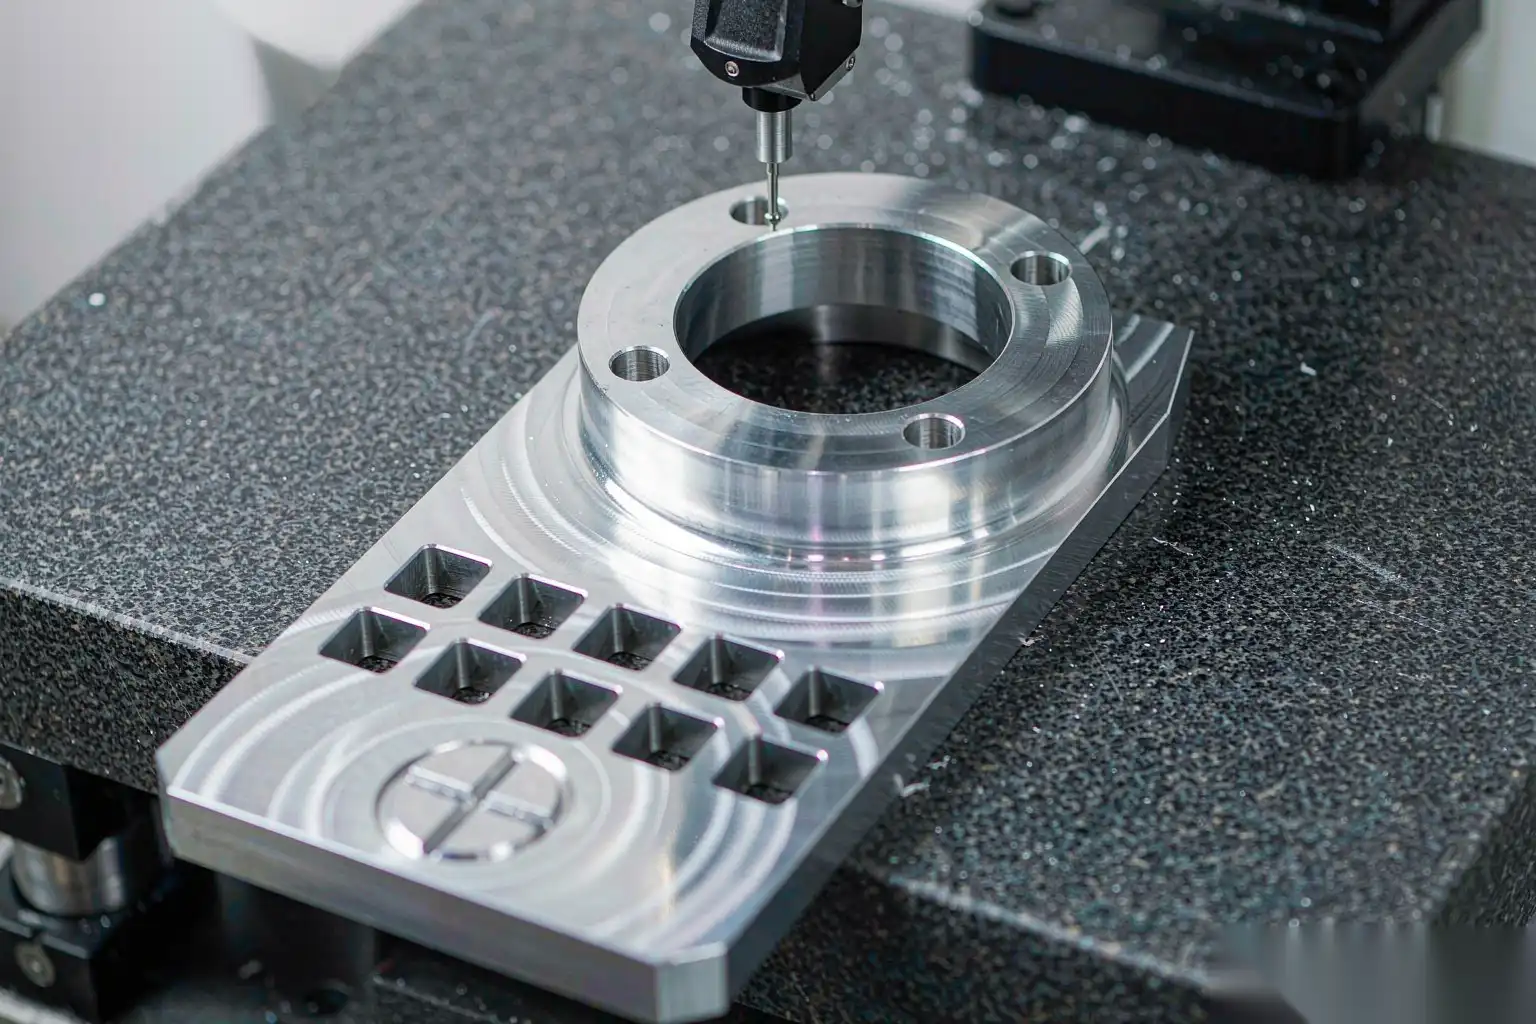
- Dial or lever indicator for rollover and tear at gate scars, with the part on its datum and the probe stepped across the lip; a 0.1 to 0.6 mm lip reads directly.
- Go/no-go nylon probe for internal cross-hole crowns, where the probe is pushed through and any catch is logged as a fail.
We record the measured height next to the class on the first-off tag. Over a week this builds a distribution: if 80 percent of Poisson fins measure 0.05 to 0.15 mm, the brush force is set for that band; if the tail creeps to 0.4 mm, the die parting has opened and the tooling engineer is notified before scrap climbs. The measurement step is cheap, roughly 30 s per first-off, and it is what keeps the routing table honest instead of based on guesswork.
Mapping burr type to removal method
Table 2 is the routing we build into a DZ cell for typical die cast parts.
| Burr type | First-choice removal | Force or setting | Backup method |
|---|---|---|---|
| Poisson, external | Robotic brush or belt | 10 to 30 N brush | Vibratory for batches |
| Rollover, gate | Robotic grind | 30 to 70 N aluminum | Belt sand, hand on low volume |
| Tear, gate root | Robotic grind, firm | 50 to 90 N, remove root | CNC chamfer if recurring |
| Thermal, ledge | Thermal energy method | Batch chamber | Hand only if no TEM |
| Mixed, high volume | Robot plus vibratory | Robot edges, tumble rest | Cell sequence |
For high-volume plumbing and lock parts we often run a two-step: the robot takes the parting line and gate, then the parts go to a vibratory bowl for 15 to 40 min to clean the micro-burrs the robot left. The vibratory deburring media selection for that bowl is set by burr size, 5 to 20 mm ceramic media for 0.1 to 0.5 mm burrs, and the cycle is tuned so the media does not round a sealing edge past tolerance.
The same routing logic applies to automated aluminum deburring, where the cell classifies at first-off and the program picks the station.
Design changes that prevent recurrence
Classification is only half the value; the other half is feeding the cause back to design. The highest-leverage changes:
- Tighten the die parting clearance from 0.08 to 0.03 mm to shrink Poisson fins at the line.
- Add a shear angle on the trim punch so the gate severs instead of rolling; a 3 to 8 degree shear cuts rollover height by half.
- Warm the trim operation or sharpen the punch on schedule, every 50,000 to 200,000 strokes, to stop tear burrs.
- Hold die temperature in the 180 to 260 °C window and polish parting faces to remove thermal nubs at ejector marks.
- Relocate gates away from sealing faces so the thick rollover never lands where a gasket sits.
- Specify a chamfer or radius at drilled exits, 0.2 to 0.5 mm, so the drill does not leave a rollover the robot must fight.
These changes cost little at the tooling stage and remove burrs before they reach the finishing cell. We treat the taxonomy as a closed loop: classify, remove, then report the top two burr types to the tooling engineer so the next die runs cleaner.
Acceptance and the cost of misclassification
Acceptance should match the class. A Poisson burr on a hidden internal face can be left to a 0.1 mm lip; a rollover on a sealing face must be gone to a tactile test. We set acceptance per feature:
- Sealing faces: no burr caught by a 0.05 mm feeler or nylon probe; pressure-decay test on fluid parts.
- Cosmetic faces: no burr visible at 2x, Ra within the polish window.
- Internal cross-holes: probe through, or TEM with a residue wash and a flow test.
- Ejector marks: nub under 0.05 mm, no tear root.
Writing the class into the inspection plan is what lets an operator accept a part in seconds instead of debating whether a fin matters. It also gives the cell data: if tear burrs climb above 5 percent of first-offs, the trim die is the problem, not the robot.
Cost of getting the class wrong
Misclassification shows up as cost long before it shows up as scrap. The common failures:
- Brushing a rollover. A brush at 20 N cannot cut a 0.4 mm rollover, so the operator runs it for 30 s, bends the lip, and the part passes tactile only to leak at test. The rework cost is a stripped gate plus a new seal, roughly 3 to 8 times the part value.
- Grinding a thermal micro-burr by hand. A worker with a file spends 20 to 60 s per ledge burr and misses half of them; the defect rate runs 2 to 5 percent and is invisible until assembly.
- Running TEM on a reachable Poisson fin. TEM is 40 to 90 s per basket plus a wash, so a part that a robot clears in 5 s burns chamber capacity and adds a residue-cleaning step for no reason.
- Ignoring a tear burr as cosmetic. The torn root is a micro-channel; the part passes visual and fails pressure-decay at 0.5 to 2.0 sccm, and the whole batch is suspect.
The fix is not a better machine; it is a correct label at first-off. A 30 s classification step that routes the part to the right station typically saves 20 to 40 percent of finishing labor on a mixed-burr part and removes the hidden leak failures that damage customer trust.
Building the classification into a DZ finishing sequence
A DZ cell turns the taxonomy into routing logic. At first-off we tag the dominant burr classes on the part, the cell picks stations, and the downstream wash or polish is matched to the residue the method leaves. Poisson and rollover go to the robot, thermal and ledge burrs go to TEM, and the whole batch is confirmed against the per-feature acceptance table. This is the practical content of a die casting secondary operations guide: not a list of machines, but a decision tree from burr type to station to acceptance.
When to bring DZ into the classification
DZ Machinery builds robotic deburring and finishing cells that route parts by burr class, combining brushing, force-controlled grinding, vibratory tumbling, and thermal energy method in one sequence. If your castings show mixed burrs that no single process clears, send us your parts and we will classify the burrs, set the station routing, and tune the acceptance so the cell removes the right burr with the right tool at the right cost.