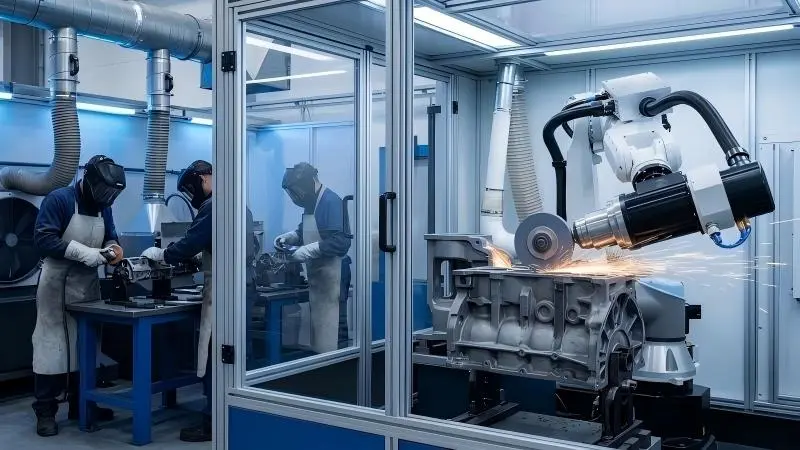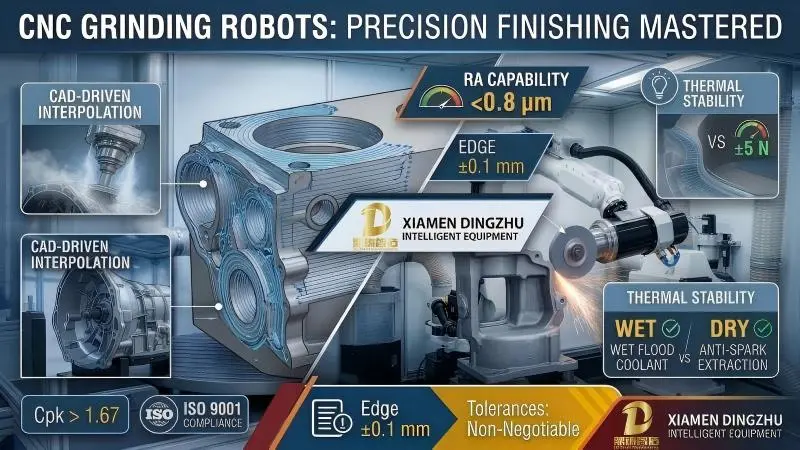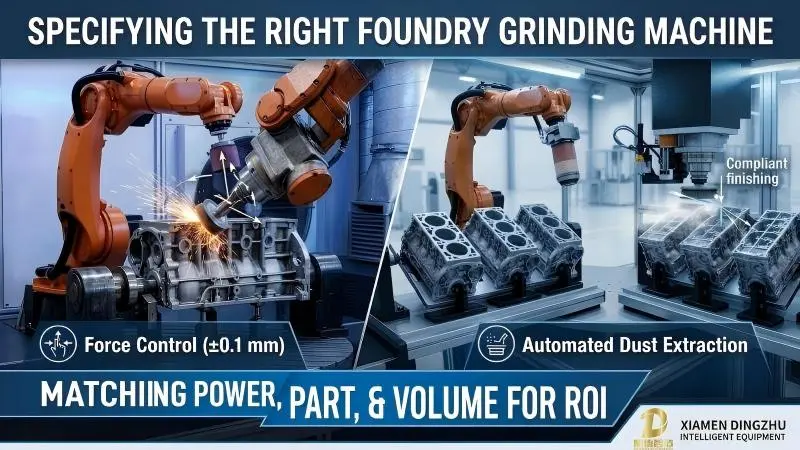
Aluminum die castings pose a unique deburring challenge: the metal is soft, the walls are often thin, and the flash at parting lines is both fragile and easy to tear into a ragged edge that ruins appearance and sealing. The best deburring solutions for aluminum die castings pair gentle, compliant tooling with precise force control so flash is sheared cleanly without denting or smearing the substrate. NADCA emphasizes that die-cast aluminum finishing is best treated as a controlled process rather than a manual touch-up, because part consistency drives downstream assembly yield.
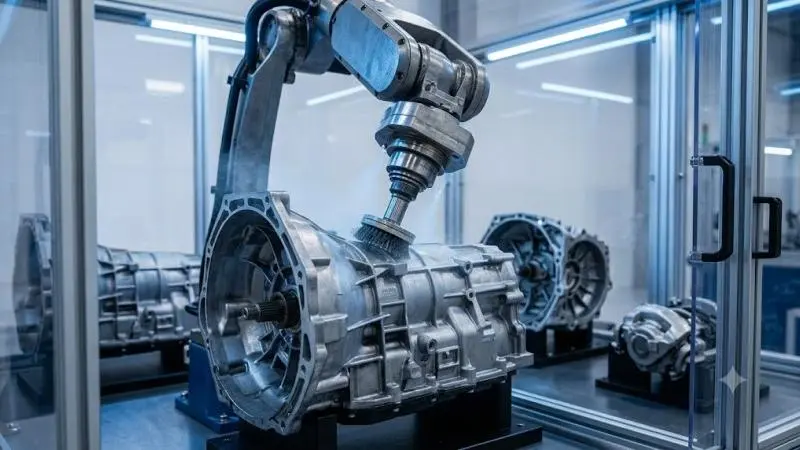
Top Tip 1: Use Compliant Brushes, Not Rigid Wheels
Aluminum loads (clogs) bonded wheels quickly. Open-structure abrasive nylon brushes at 10,000–16,000 RPM cut flash cleanly and self-clear. A compliant deburring machine with force feedback keeps pressure at 5–15 N, preventing the dents that rigid tooling leaves on thin sections.
Top Tip 2: Match Media to Alloy and Temper
- ADC12 / A380: silicon content makes them abrasive — use silicon-carbide impregnated brushes.
- ADC6 / low-silicon: softer, smears easily — finer grit (120–180) and lower RPM.
- Anodized after deburr: avoid aggressive media that would show as witness marks.
Top Tip 3: Control Heat to Avoid Smear
Excess RPM or dwell melts aluminum at the edge, creating a burr-like smear. Keep surface speed moderate and use intermittent contact. Pair with light mist if needed. Our zinc alloy deburring guide covers a related but harder material.
Top Tip 4: Separate Flash From Internal Burrs
Parting-line flash needs one path; cross-hole and ejector-pin burrs need another. Program them as distinct operations so each gets the right tool and force. For high-volume parts, see our high-volume machine guide.
Top Tip 5: Verify With Edge Gauges, Not Eyes
Set an acceptable edge-break radius (commonly 0.1–0.3 mm) and verify with a go/no-go gauge or vision. This catches the soft-metal smear that looks acceptable but fails sealing.
| Factor | Manual Hand Deburr | Automated Brush Cell |
|---|---|---|
| Edge consistency | ±0.3 mm | ±0.1 mm |
| Smear risk | High on thin walls | Low with force control |
| Throughput | Operator-limited | 400–1,200 parts/hr |
| Tool clogging | Frequent wheel changes | Self-clearing brushes |
QUICK DECISION TIP
Run a 30-part sample at 12,000 RPM and 10 N with a 150-grit brush; if you see smear, drop RPM before changing media — heat is usually the culprit, not grit.
Handling Ejector-Pin Marks and Parting-Line Flash
Two defects dominate aluminum die castings. Parting-line flash is removed by a light brush pass along the seam; ejector-pin marks need a localized dwell at each pin location. Program them separately so the brush does not over-work the surrounding soft surface. A different approach is needed for iron, where marks are harder and need more aggressive media.
Post-Deburr Cleaning Considerations
Aluminum brushing leaves fine abrasive dust that can contaminate subsequent anodizing or painting. Plan a blow-off or wash stage immediately after deburring so residue does not embed. This is especially important for cosmetic A-surfaces where trapped grit shows as streaks after finishing.
Fixture Design for Thin-Wall Castings
Thin aluminum walls dent under clamp force, so design fixtures with broad, soft-jawed locators that spread pressure over a large area and avoid clamping near deburr edges. Vacuum or magnetic holding works for flat enclosures but verify it does not mask the very edge you are finishing. A well-designed fixture is half the battle in keeping aluminum parts flat and unscathed through the cycle.
Lighting and Vision for Small Burrs
Sub-0.1 mm burrs on aluminum are hard to see even for an inspector, which is why automated verification beats the human eye. A ring-light and a simple edge-profile camera can flag a missed burr that would otherwise pass. You do not need full 3D vision for most die-cast parts; a targeted check at the known burr locations is enough to convert a hidden defect into a logged reject and protect downstream assembly.
When to Escalate From Deburring to Grinding
If flash exceeds about 1 mm or the part needs dimensional correction, deburring alone will not suffice and you should plan a grinding pass first. Running an aggressive deburr on heavy flash only loads the brush and tears the edge. Recognize the threshold early so the process plan sequences grinding then deburring, keeping each tool in its optimal range and protecting finish quality.
Frequently Asked Questions
Why does aluminum smear instead of cut?
Its low melting point and ductility cause the edge to flow under heat and pressure; lower RPM and compliant media fix it.
Can I deburr before or after machining?
Deburr after machining so machined edges aren’t re-burred by the trim operation; flash removal can happen earlier.
What grit is best for visible surfaces?
150–180 grit leaves a clean, uniform edge without heavy scratching on cosmetic A-surfaces.
Is tumble finishing suitable for aluminum die castings?
Only for robust parts; thin-wall enclosures dent in bulk media and are better on a fixture cell.
Need help specifying the right machine?
Contact Xiamen Dingzhu Intelligent Equipment — we size deburring and grinding cells to your castings, volume, and tolerances. Talk to our application engineers.
References
- American Foundry Society — afsinc.org
- NADCA — nadca.com
- ISO 9001 — iso.org
This article is for general guidance only and does not constitute a specification or quote. Confirm process parameters with the equipment supplier for your parts.