Complete automation of a finishing workshop sounds like a big project. It is. But it does not happen in one leap. It happens in seven clear steps, and each step pays for itself before the next one starts. That is the only way to do it without stopping production.
This guide lays out the full path. It shows what to do first, what to leave for later, and how to know when to move forward.
Step 1 — Map Everything You Have
Start with a complete map. Every machine, every bench, every person, every product flow. Note the cycle time of each step and the hours each person spends. This map is your baseline.
For example, a workshop with six benches and twenty part families may find that two families drive 70 percent of the work. That pair is your first target.
Therefore, the map shows where the money and the time actually sit. It stops you from automating the wrong thing.
Step 2 — Set the Target State
Write down where you want to be in three years. How many parts per shift? How many operators? What scrap rate? The target does not need to be perfect. It needs to be clear.
In addition, describe the flow. Casting in one end, finished parts out the other, with no backtracking. That picture drives every later decision.
Consequently, the target state turns vague ambition into a design brief. Every cell you buy should move you toward it.
Step 3 — Fix the Manual Foundation
Automation does not fix a broken process. It makes the broken process repeat faster. So fix the foundation first. Standardize fixtures. Write down the best recipes. Measure finish on every batch.
For example, Polishing and buffing automation only works if the recipe is defined. A recipe that lives in one operator’s head cannot be programmed.
Therefore, spend weeks, not days, on this step. It is the difference between a smooth rollout and a painful one.
Step 4 — Automate the First Process
Pick the one process with the clearest case. High volume, high rework, or hard to staff. Build a single cell around it. One robot, one fixture, one part family. Keep the scope tight.
In addition, upgrading your production line in phases starts exactly here. Prove the first cell, bank the win, then expand.
As a result, the workshop gains a working cell, real data, and a trained team. Those three assets fund the next step.
Step 5 — Add Material Handling
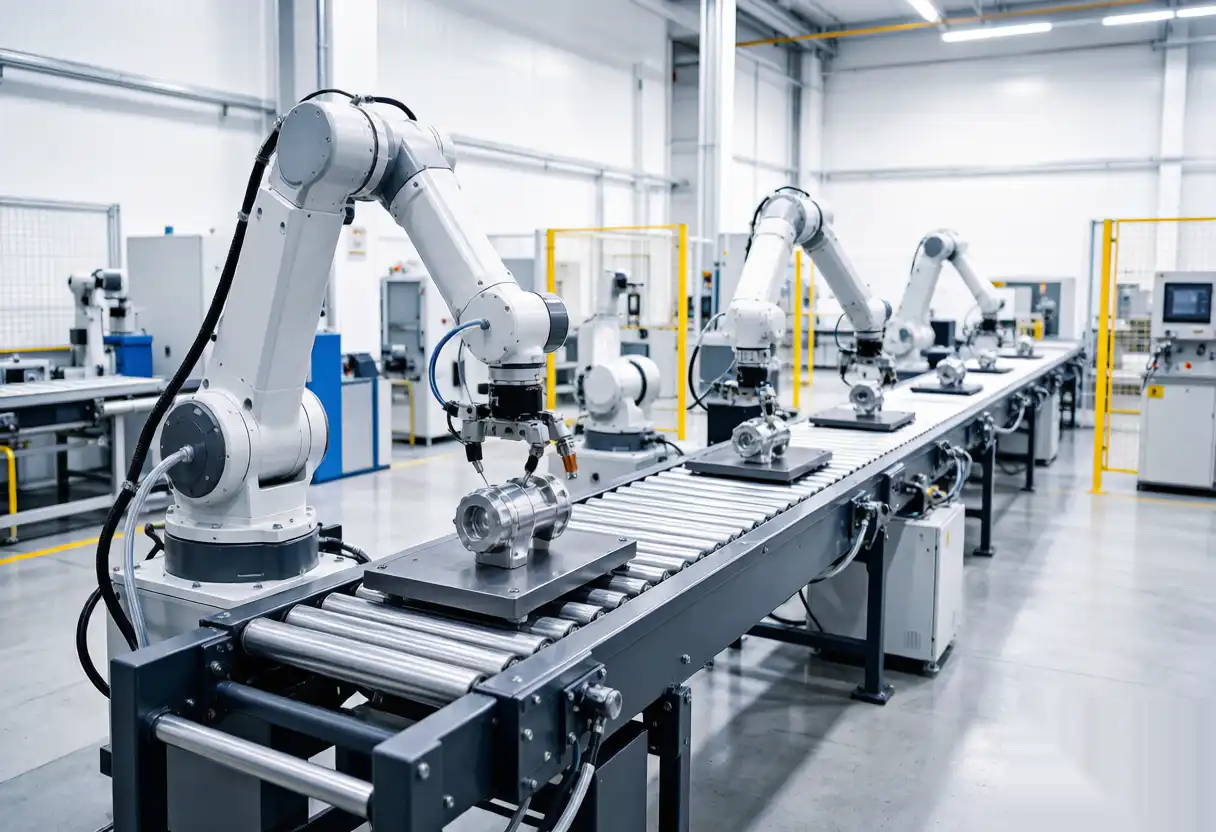
Once cells exist, connect them. A conveyor or shuttle moves parts between stations. The part stays in one fixture philosophy from start to finish. Handling between cells disappears.
For example, a simple shuttle between the deburr cell and the polish cell removes two moves and two re-fixtures per part. The labor saving is real and immediate.
In addition, handling automation is where the workshop starts to look like a line instead of a collection of islands.
Step 6 — Connect Data and Scheduling
With multiple cells, add a scheduling layer. A simple board or MES link routes parts to the next free cell. Cycle time, yield, and downtime appear on one screen.
For example, a workshop with three cells and ten part families schedules by recipe. The operator loads the pallet, and the system picks the cell. The board replaces paper tags and phone calls.
Therefore, the data layer turns the cells into one system. Decisions move from guesswork to reports.
Step 7 — Train and Document
Every cell needs trained operators and backup operators. Document the recipes, the fixtures, and the maintenance checklists. The workshop should run the same at 6 a.m. as at 2 p.m., regardless of who is on shift.
In addition, Automatic polishing machines and cells both follow this rule. The knowledge lives in the files, not in one person.
Consequently, the team becomes the stable part of the system. Turnover stops resetting the workshop.
How Complete Automation Looks
A fully automated workshop has a simple rhythm. Parts arrive from casting or machining. They move through deburring, grinding, and polishing without hand handling. Operators load and monitor. Reports show yield and downtime by cell. The finishing step is no longer the bottleneck.
In addition, the workshop can take more orders without more heads. The capacity exists in the machines, not in the hiring plan.
Therefore, complete automation is not a luxury. It is the way the workshop stops being the constraint.
Handling the Odd Jobs
No workshop is 100 percent repeatable work. There are prototypes, one-off repairs, and parts too big for the cell. Plan for them before the automation project, or they will stall it.
For example, keep one manual bench for the odd jobs. The robot takes the volume, the bench takes the exceptions. The hybrid setup keeps both sides busy and the customers served.
In addition, review the odd-job list quarterly. Some “one-offs” become repeat orders. When they do, they earn a fixture and a recipe, and they leave the bench for the cell.
Quality Systems and Traceability
Automation makes traceability easy, so use it. Each cell logs the recipe, the parameters, and the cycle count for every batch. The log proves the finish and answers customer questions in minutes.
For example, a customer asks which recipe ran on last Tuesday’s batch. The report answers in seconds. That trust is worth more than the machine that produced it.
Therefore, define the quality records before you buy. The data is free once the cell runs. Organizing it afterward is the expensive way.
Common Roadblocks
- Scope creep. Adding parts mid-project delays everything. Freeze the first scope.
- Fixture delays. Fixtures are the long-lead item. Order them first.
- Untrained backups. One trained operator is a risk. Train two.
- No spare parts. A week without a spindle is a week without the cell.
Therefore, plan for these before they happen. Each roadblock is cheap to prevent and expensive to fix.
Choosing the Right Supplier
The supplier decides the outcome more than the robot. Look for three things. A track record in your industry, a team that documents interfaces, and a training plan that leaves your people capable.
For example, a supplier that shows three reference cells in casting plants understands the parts, the dust, and the fixtures. A supplier with only brochure robots starts your project with risk.
In addition, ask who commissions the cell. The same engineer who designs it should install and train on it. The knowledge transfer matters as much as the hardware.
Budgeting the Full Project
Budget everything, not just the machines. Fixtures, guarding, extraction, integration, training, spare parts, and the first consumables. The line items after the robot are where budgets die.
For example, a project that quotes 100 for the robots often lands at 160 once integration is counted. Plan the total first, and the project keeps its promises.
Therefore, ask for a line-item quote and review it with someone who has built a line before. The details protect the budget.
Frequently Asked Questions
How long does complete automation take? Twelve to twenty-four months for most workshops, depending on scale. Each phase runs and pays back while the next is planned.
What is the biggest mistake? Automating before standardizing the manual process. Fix the recipe first, then program it.
Do I need to replace my existing machines? Often not. Many existing machines integrate into a cell with new handling and control. Buy new only where the old tool cannot hold the spec.
Can a small workshop afford it? Yes, one cell at a time. The first cell funds the second. The phased path fits small budgets by design.
What should I automate first? The process with the most labor hours, the most rework, or the hardest staffing. The pain points rank themselves.
How do I keep quality during the transition? Run the manual and automated lines side by side. Compare the batches weekly, and move volume over as the cell proves itself.
Will the workshop look different? Yes. Benches shrink, cells grow, and screens replace wheels. The change is visible, and the numbers justify it.
What if a key person leaves mid-project? Document as you go. Recipes, fixtures, and decisions should be written down from day one. The project must not depend on one memory.
Can I automate inspection too? Yes, in stages. Start with a vision check on the cell output. Add more stations as the data shows the value.
How do I keep momentum across months? Set a public milestone for each phase. A cell running, a line connected, a report delivered. Visible progress keeps the team and the budget on board.
Should I automate quality inspection too? In stages. A vision check on the cell output is a fast first win. Expand it once the data shows the value.