Vibratory Deburring Media Selection for Die Castings: What Actually Comes Off and What Never Will
Mass finishing is the cheapest edge treatment a casting can get, and the most oversold. A bowl or a tub will take the sharp edge off a thousand small parts for a few cents each, and it will never touch the gate stub your customer keeps rejecting. Knowing which side of that line your part sits on is the whole job.
This article is a working guide to vibratory deburring media selection: equipment types with realistic cycle times and edge radii, media shape and composition by alloy, loading ratios and compound chemistry, the cycle time versus edge break relationship, the failure modes, and where mass finishing belongs in a routing that also contains robotic grinding and polishing.
What mass finishing actually removes on a die casting
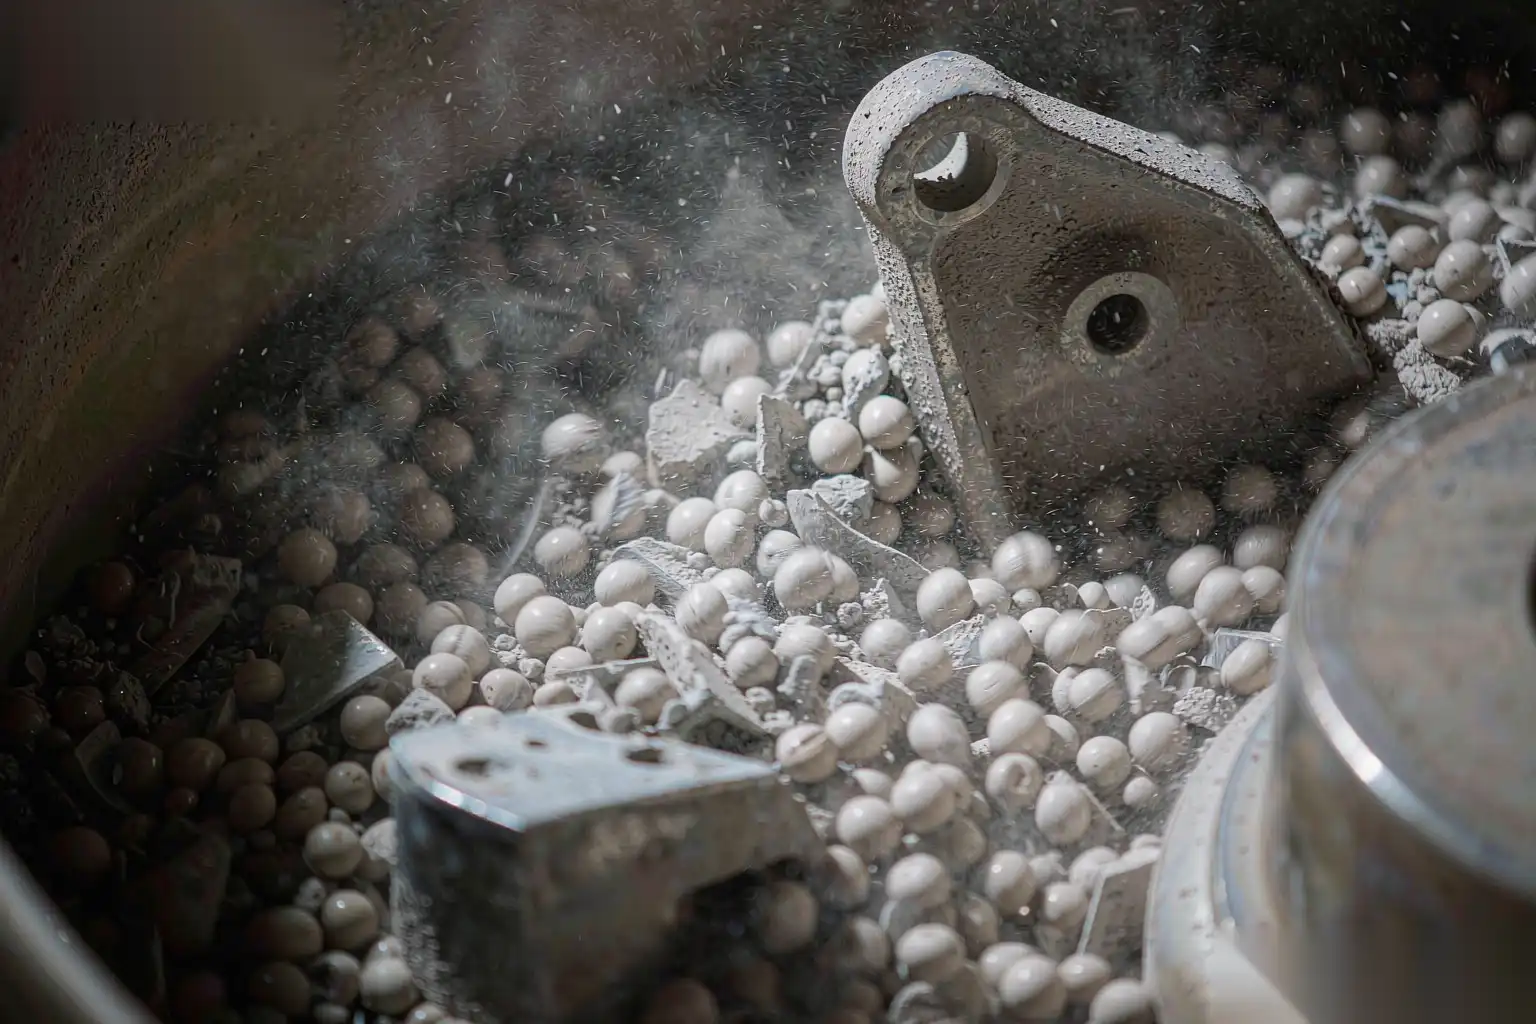
Mass finishing works by relative motion between parts and media. Material comes off where the media can reach and rub. Three consequences follow directly:
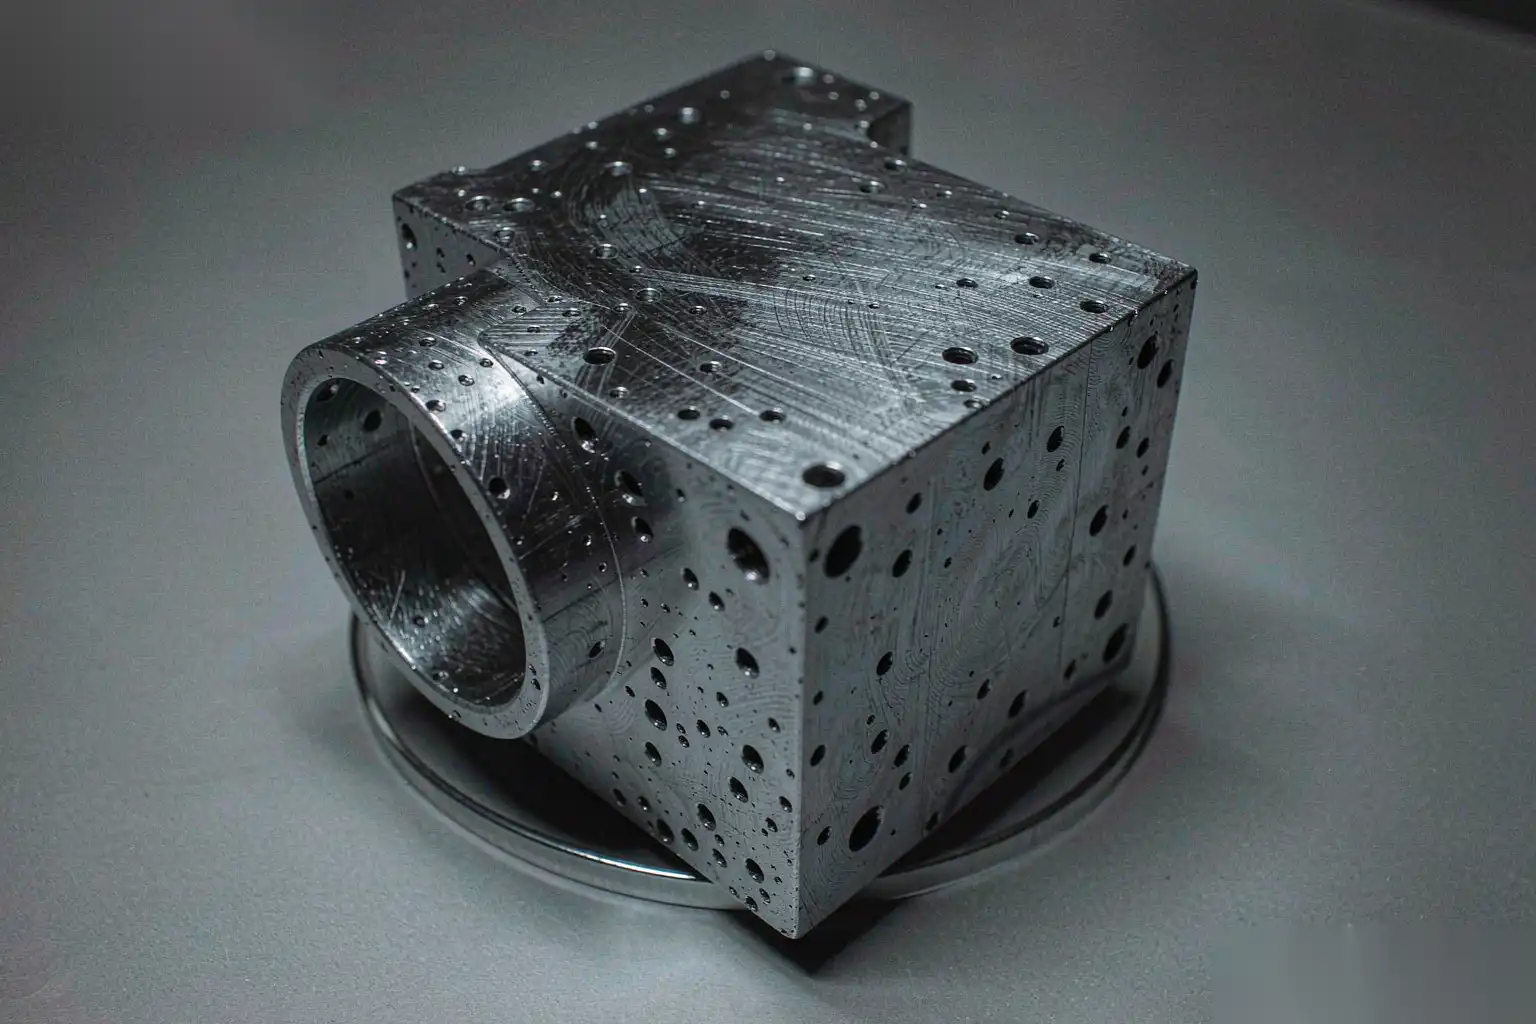
- Removal is proportional to exposure. An outside corner gets hit constantly and rounds fast. A burr inside a 4 mm deep pocket gets almost no action, because media larger than the pocket entrance cannot enter and media small enough to enter has too little mass to cut.
- Removal is proportional to burr thickness at the root. A thin trim burr of 0.1-0.3 mm at the root breaks off in minutes. A 1.5 mm thick gate vestige will still be there after two hours, just shinier.
- The process attacks the whole surface. You cannot ask a bowl to deburr one edge and leave the rest alone. Everything exposed changes, including the cosmetic face your customer measures for gloss.
The practical envelope for a die casting in aluminium or zinc:
- Trim burrs up to about 0.5 mm root thickness on accessible edges: reliably removed.
- Parting line flash up to 0.15 mm: reliably removed.
- Edge break / radius: 0.05-0.40 mm depending on media and time.
- Surface roughness: Ra 1.5-3.0 µm becomes Ra 0.4-1.2 µm with fine media, and Ra 0.1-0.3 µm with burnishing steel.
- Gate stubs, heavy flash, and anything thicker than roughly 1 mm at the root: not a mass finishing job.
If your parts arrive from trim with 1-2 mm gate vestige, or the die is producing 0.3 mm parting flash, fix trim and die maintenance first. Mass finishing downstream of a badly trimmed casting is a cost you pay forever.
Equipment types compared
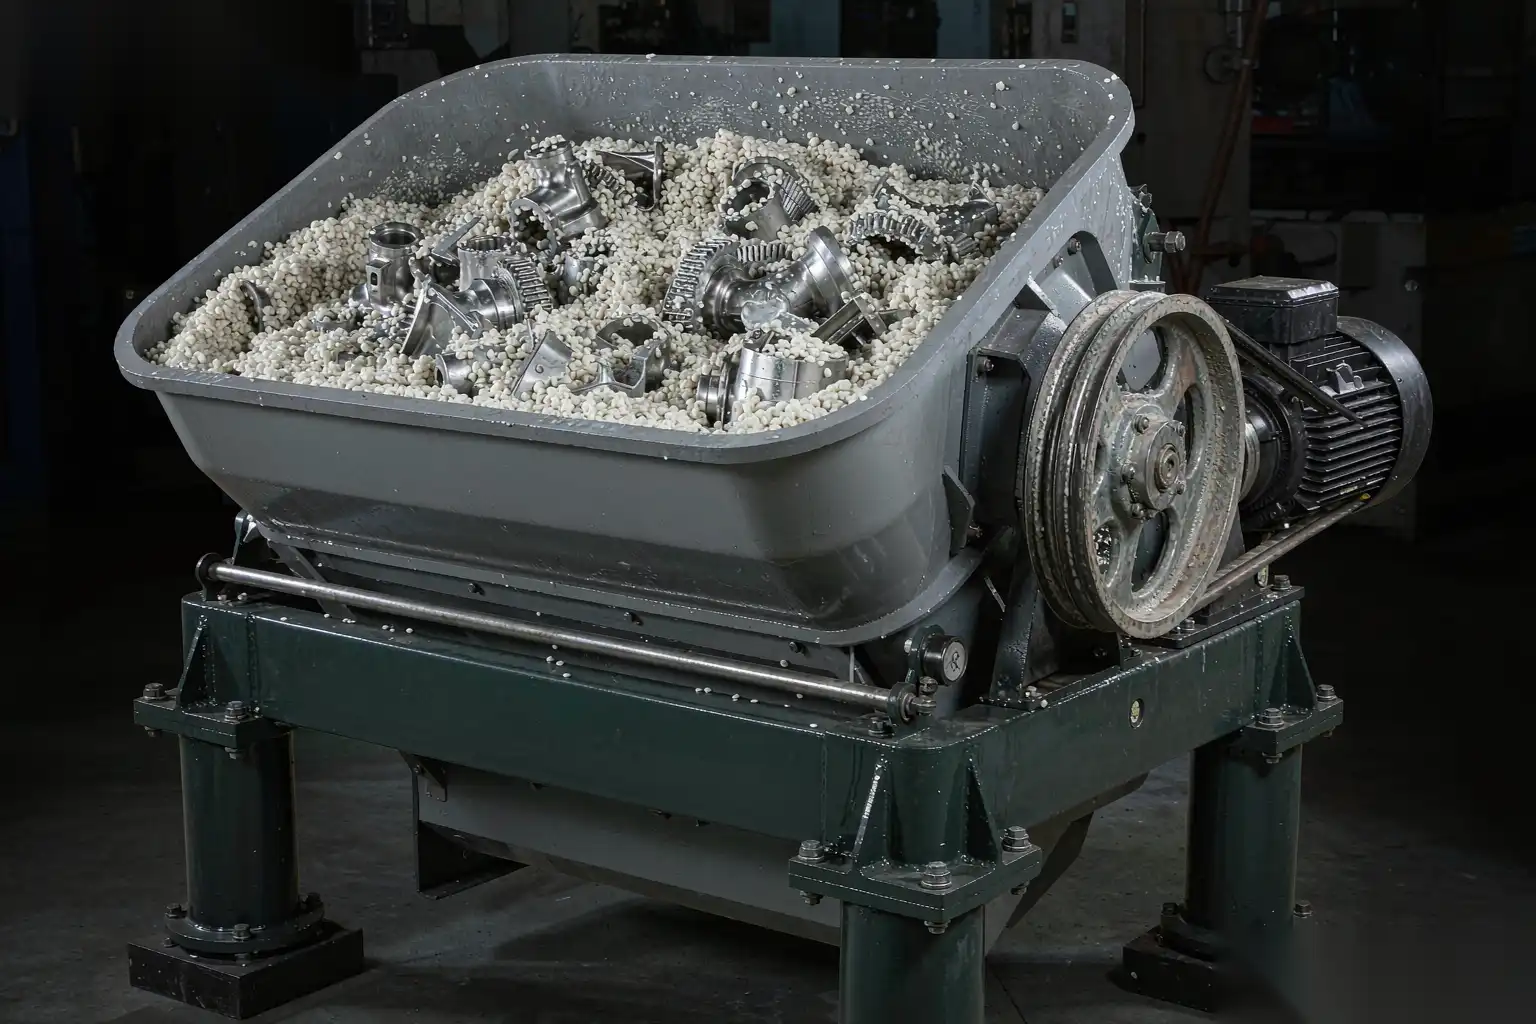
The machine choice sets the energy available, and energy sets cycle time. The numbers below are what we see on aluminium and zinc hardware and housing parts, not catalogue best cases.
| Machine type | Typical cycle time | Achievable edge radius | Part size range | Best for | Main limitation |
|---|---|---|---|---|---|
| Vibratory bowl (round, 100-600 L) | 20-90 min | 0.10-0.30 mm | 10-200 mm | High-mix small parts, batch traceability | Long cycles, part-on-part contact, loud |
| Vibratory tub (through-feed, 400-2000 L) | 30-120 min | 0.10-0.35 mm | 20-400 mm | Longer parts, continuous flow | Large footprint, high water and compound use |
| Centrifugal disc / high-energy (30-150 L) | 5-25 min | 0.15-0.50 mm | 5-120 mm | Short cycles, hard alloys, tight corners | Small batch, high media wear, capital cost |
| Centrifugal barrel | 10-40 min | 0.10-0.40 mm | 5-150 mm | Very high energy on small parts | Part-on-part damage risk, fixturing needed |
| Drag / spindle finisher | 2-12 min | 0.05-0.20 mm | 30-500 mm | Cosmetic and plated parts, no part contact | Low throughput, part must be clampable |
The decision usually comes down to two questions. Does the part tolerate part-on-part contact? If no, drag finishing or a fixtured centrifugal barrel. Is the cycle acceptable at the required volume? A 45 minute bowl cycle on a 200 L machine at 60 percent useful volume gives roughly 8-12 batches per 24 hour day, which is 1,500-4,000 small parts per day depending on size. If you need more than that, the bowl is the bottleneck, not the media.
Media shape and composition: choosing by alloy and burr size
Shape first: geometry decides access
Media must physically reach the edge. Rule of thumb: the smallest media dimension should be at least three times the narrowest gap it must enter, and no larger than one third of the smallest feature you must protect.
- Angle cut cylinders (ACC). The workhorse. Flat cut ends give a defined edge and good cutting. Use 10 x 10 mm or 6 x 6 mm for general deburring of housings.
- Triangles and tri-stars. Reach into corners and slots that cylinders miss. Slightly shorter life.
- Cones and pyramids. Pointed ends get into holes and undercuts, but they also wedge in holes and are difficult to separate. Only use when the hole diameter is more than 1.5x the cone base.
- Spheres and ovals. Low cut, used for burnishing and for avoiding edge rounding on parts that must keep a sharp corner.
- Random shapes / satellites. Good all-round contact on complex geometry, common in plastic media for zinc.
Composition: cutting versus smearing
| Media type | Density | Cut rate | Typical use | Watch out for |
|---|---|---|---|---|
| Ceramic (alumina, vitrified) | 1.8-2.6 kg/L | High | Aluminium housings, heavy burrs, short cycles | Aggressive on edges, can round corners past spec, wears 2-4 percent per hour |
| Plastic (urea, polyester) | 0.9-1.5 kg/L | Low to medium | Zinc, aluminium cosmetic parts, fine edge | Smears soft aluminium if the cut is too fine; heat deformation above 60 C |
| Porcelain (vitrified, low porosity) | 2.2-2.6 kg/L | Low | Burnishing, near-polished finish | Little deburring capability |
| Stainless steel (burnishing) | 4.5-5.0 kg/L | None | Density/brightness, Ra 0.1-0.3 µm | Iron contamination on aluminium; galvanic risk on zinc |
| Organic (walnut shell, corn cob) | 0.4-0.8 kg/L | None | Drying, light polishing | Dust, combustible, short life |
By alloy:
- Aluminium (A380, ADC12, AlSi9Cu3). Ceramic ACC 6-10 mm for real deburring; plastic or porcelain for cosmetic finish. Avoid steel media unless the part will be anodised or painted and you can accept iron pick-up. Aluminium smears rather than cuts with fine plastic media, so if you see a grey smear instead of a clean edge, move up to a coarser ceramic and shorten the cycle.
- Zinc (Zamak 3, 5). Zinc is softer and cuts fast. Plastic or fine ceramic, low energy, short cycles over-cut it. Keep compound pH between 7 and 9; below 6 the surface etches and turns grey, above 10 it darkens. Zinc parts also dent, so part-on-part impact in a bowl is a real reject cause above roughly 300 g part weight.
- Magnesium. Not a mass finishing candidate in ordinary equipment. Do not put magnesium swarf or fines in the same waste stream as anything else.
Media sizing by burr: burr root thickness 0.2 mm with 6 mm media works; 0.6 mm burr needs 10-16 mm ceramic and a high-energy machine; anything above 1 mm needs a cutting tool, not a bowl.
Loading ratio, water level and compound dosing
The process window is narrower than most shops run it.
- Media-to-part ratio. 3:1 to 6:1 by volume is normal for deburring; 8:1 to 10:1 for fragile parts that must not touch each other; below 2:1 you get part-on-part damage and inconsistent results. Measure by volume in a bucket, not by weight, and re-check weekly because media wears away.
- Fill level. 60-80 percent of the working channel or bowl volume. Overfilling above 85 percent kills the rolling action and the cycle doubles.
- Amplitude and frequency. Vibratory bowls typically run 900-1800 rpm motor speed with 2-6 mm amplitude. Higher amplitude cuts faster and damages more; for zinc and cosmetic aluminium, set amplitude at the low end and accept a longer cycle.
- Water flow. 20-60 L per hour per 100 L of media, enough to keep the media surface damp and flush fines out. Too much water cushions the impact and cuts the cut rate by 30-50 percent; too little and fines pack the media and you get a grey, loaded surface.
- Compound dosing. 1-3 percent by volume of the circulating water, dosed continuously by pump rather than dumped in at the start. Functions: wetting, suspension of fines, pH control, corrosion inhibition. For aluminium run mildly alkaline, pH 8-10; for zinc, near neutral, pH 7-9.
- Media wear and top-up. Ceramic loses roughly 2-4 percent of charge volume per 100 hours; plastic 1-2 percent. Weigh the charge monthly and top up. A charge that has dropped 25 percent in volume produces visibly different results and is the most common cause of a process that “used to work.”
Cycle time versus achieved edge break
Edge radius grows roughly with the square root of time: doubling the radius costs four times the cycle. That single relationship drives most mass finishing economics.
| Target | Machine | Media | Typical time | Notes |
|---|---|---|---|---|
| 0.05-0.10 mm edge break, zinc | Vibratory bowl | Plastic, 6 mm, fine cut | 15-25 min | Low amplitude to avoid dents |
| 0.10-0.20 mm edge break, aluminium | Vibratory bowl | Ceramic ACC, 10 mm | 30-60 min | Check for corner rounding on machined faces |
| 0.20-0.35 mm radius, aluminium | Centrifugal disc | Ceramic ACC, 10 mm | 8-15 min | Best cycle-to-radius ratio |
| 0.05-0.15 mm + Ra < 0.4 µm | Drag finisher | Plastic then porcelain | 6-18 min | Cosmetic parts, no part contact |
| Ra 0.1-0.3 µm brightness | Vibratory bowl | Steel burnishing media | 20-40 min | Not deburring; needs clean parts first |
A useful planning number: assume the first 0.1 mm of edge break costs 10-20 minutes in a bowl and every additional 0.1 mm costs another 25-40 minutes. If your print calls for a 0.5 mm radius on every edge of an aluminium housing, a bowl is the wrong machine and probably the wrong process.
Where mass finishing fails
Every one of these shows up as a customer complaint eventually, so check for them during qualification, not in production.
- Heavy gate stubs and trim vestige. A bowl rounds the outside of a 1.5 mm stub and leaves it. This is the number-one reason mass finishing gets blamed for a problem that belongs to the trim die.
- Shadowed recesses. Media cannot enter a slot narrower than about 3x the media’s smallest dimension, and even when it enters, the relative motion inside a recess is near zero. Deep pockets, blind holes and tight ribs keep their burrs.
- Part-on-part damage. Above about 200-300 g per part, or on any polished or plated surface, parts damage each other in a bowl. Dents, scratches and, on zinc, cracked bosses. Fix with a higher media ratio, a lower amplitude, or a drag finisher.
- Media lodging. Cones and cylinders wedge in cored holes and cross-drillings. Any part with a hole needs a separation and blow-out step, and 100 percent inspection on the first run.
- Over-rounding of functional edges. Sealing faces, thread entries and press-fit leads often need a controlled small break. A bowl gives you whatever it gives you.
- Flash folded into the surface. If trim folds flash over rather than cutting it, no amount of tumbling removes it. The fold must be cut off first.
- Water staining. Parts left wet in a bin for an hour streak. Drying must start within 10-15 minutes of discharge.
Drying, media separation and waste handling
The back half of the process is where the hidden cost sits.
- Separation. Screen or magnetic separation at 3-8 mm depending on media size. Design the screen so the part cannot pass and the smallest worn media can. A worn media fragment that goes downstream with the part is a lodged-media complaint.
- Rinsing. Final rinse in clean water, 30-60 seconds, then drying. Recirculated rinse water carries fines back onto the surface.
- Drying. Hot air 60-80 C for 8-20 minutes, or a corn cob / sawdust drying media for 10-15 minutes. Residual moisture must be zero before packing; aluminium parts with trapped water in blind holes stain within a day.
- Sludge. Expect 5-15 kg of wet sludge per 100 kg of aluminium processed. Aluminium hydroxide sludge is a controlled waste in most jurisdictions; dewater it with a filter press or settling tank before disposal. Do not mix zinc-bearing sludge with aluminium sludge if you want any recycling value.
- Noise and dust. Vibratory bowls run 80-95 dB(A). Enclose or isolate, and provide extraction if you run dry drying media.
Where mass finishing fits in a routing with robotic grinding
The cleanest routings put each process on the work it does best. For die cast housings and hardware:
- Trim: remove gate and flash, leave 0.3-0.8 mm of vestige. Target that consistently and everything downstream gets cheaper.
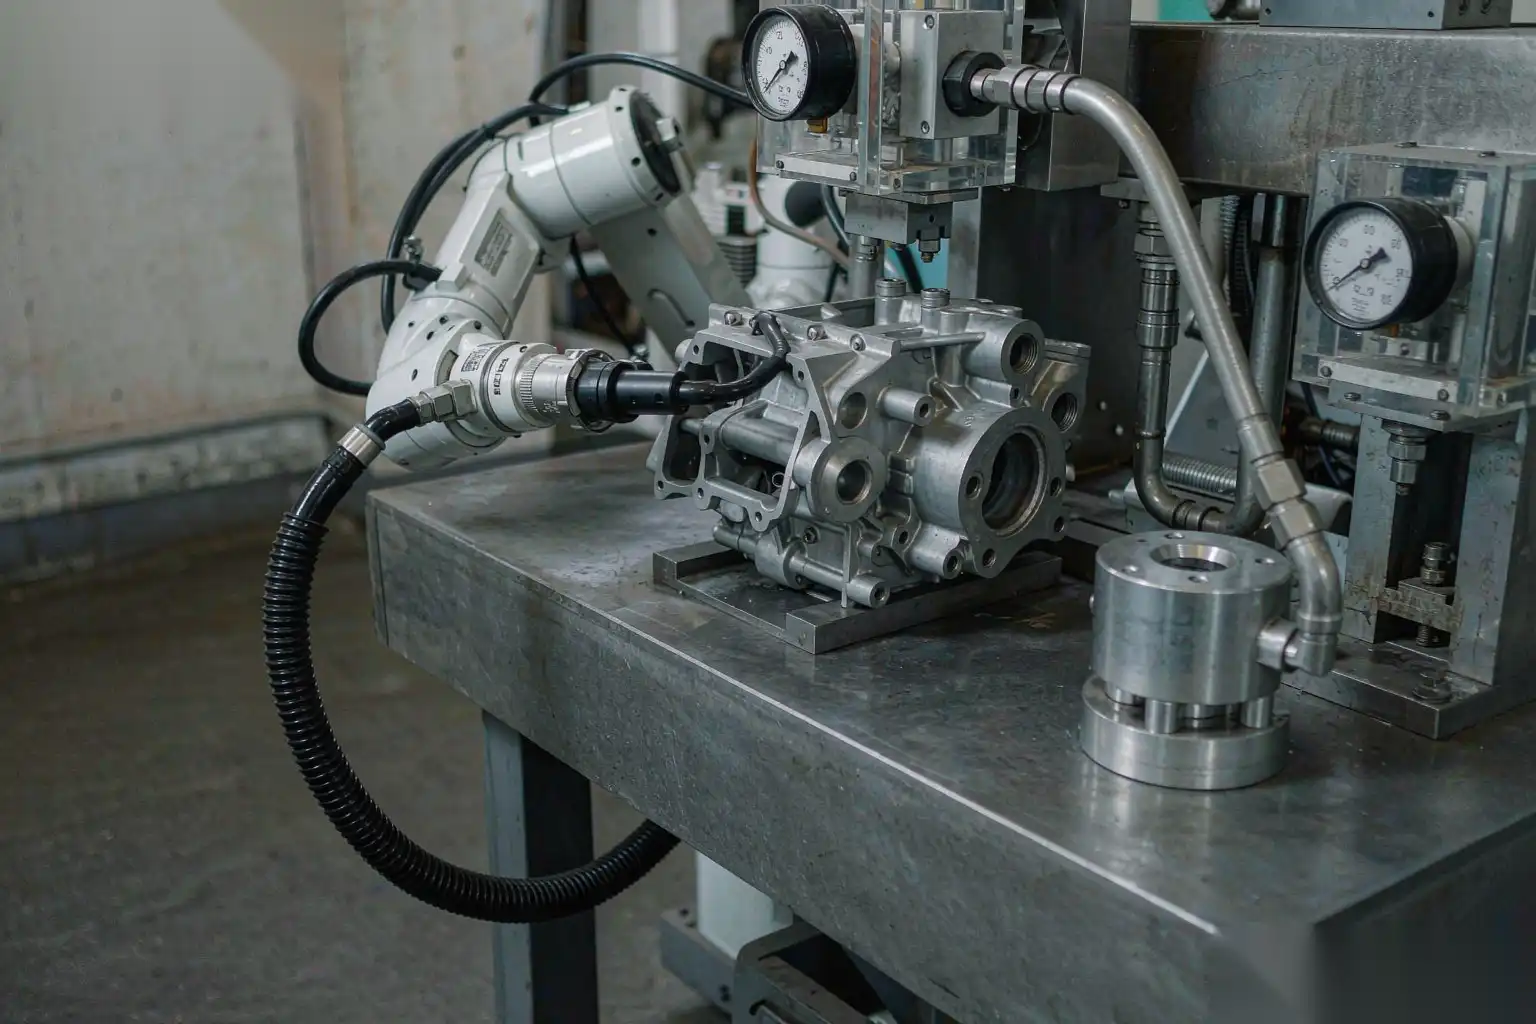
- Robotic grinding: remove gate vestige, parting line and heavy burrs with a defined path and force control. This is deterministic, programmable per edge, and it is the only process that can hold a per-feature tolerance.
- Mass finishing: uniform edge break, surface refinement and cosmetic consistency over the whole part.
- Robotic polishing: cosmetic faces only, where gloss and reflection are measured.
- Wash, dry, inspect, pack.
Skipping step 2 and asking a bowl to do steps 2 and 3 together is the most common cost mistake we see: the bowl cycle grows to 90-120 minutes, the reject rate climbs, and the media bill doubles. Running step 3 after step 2 is usually cheaper than running either alone, because the robot does not need to chase every 0.1 mm burr and the bowl only has to polish edges, not cut them.
For parts with a cosmetic requirement, see how robotic polishing improves quality on zinc alloy parts, and for the deburring side of the routing, automation options for deburring aluminium die castings. The alloy you are running also changes media and compound choice; A380 aluminium properties is a useful reference for what the media is cutting into.
Media and process selection checklist
- Burr root thickness measured on 10 parts from three different shots, with the maximum recorded.
- Target edge radius per feature, and whether any edge must stay sharp.
- Part weight and whether part-on-part contact is acceptable.
- Smallest gap or hole the media must enter, and the smallest that must stay clear.
- Alloy and surface finish requirement (Ra value, gloss, plating or anodising).
- Machine type chosen against cycle time and volume, with batches per day calculated.
- Media shape, size, composition and supplier grade, with a wear rate and top-up schedule.
- Media-to-part ratio, fill level, amplitude, water flow and compound pH, all written down as set-points.
- Separation screen size, rinse and drying parameters, and time limit between discharge and drying.
- Sludge volume estimate and disposal route.
- Qualification: 30 parts run at the set-point, edge radius measured at five features, Ra measured at three locations, results charted.
- Re-qualification trigger: media volume down 20 percent, or any change of alloy, supplier or compound.
One last routing rule worth stating: the deterministic stage should be specified first, and the mass finishing stage sized to what it leaves behind, not the other way round.
DZ Machinery builds the deterministic half of that routing: six-axis robotic deburring, grinding and polishing cells with force-controlled floating spindles, automatic tool change and multi-station turntables, plus the fixtures, dust extraction and cycle time and yield calculations that go with them. We size the robotic stage so the mass finishing stage downstream becomes a short, predictable polishing step instead of a two-hour gamble. Send us your part drawings, alloy, burr condition off the trim die and annual volume, and our engineering team will come back with a proposed routing, station count and cycle time you can hold us to.