QUICK FACTS
| Tolerance | ±0.05 mm typical |
| Setup time | 30–90 min first article |
| Target finish | Ra 0.2–0.8 µm |
Why deburring process optimization matters on the shop floor
Deburring is the step most plants under-engineer, yet it decides whether a casting ships or gets scrapped. Therefore, deburring process optimization should be treated as a core operation rather than a cleanup afterthought at the end of the line.
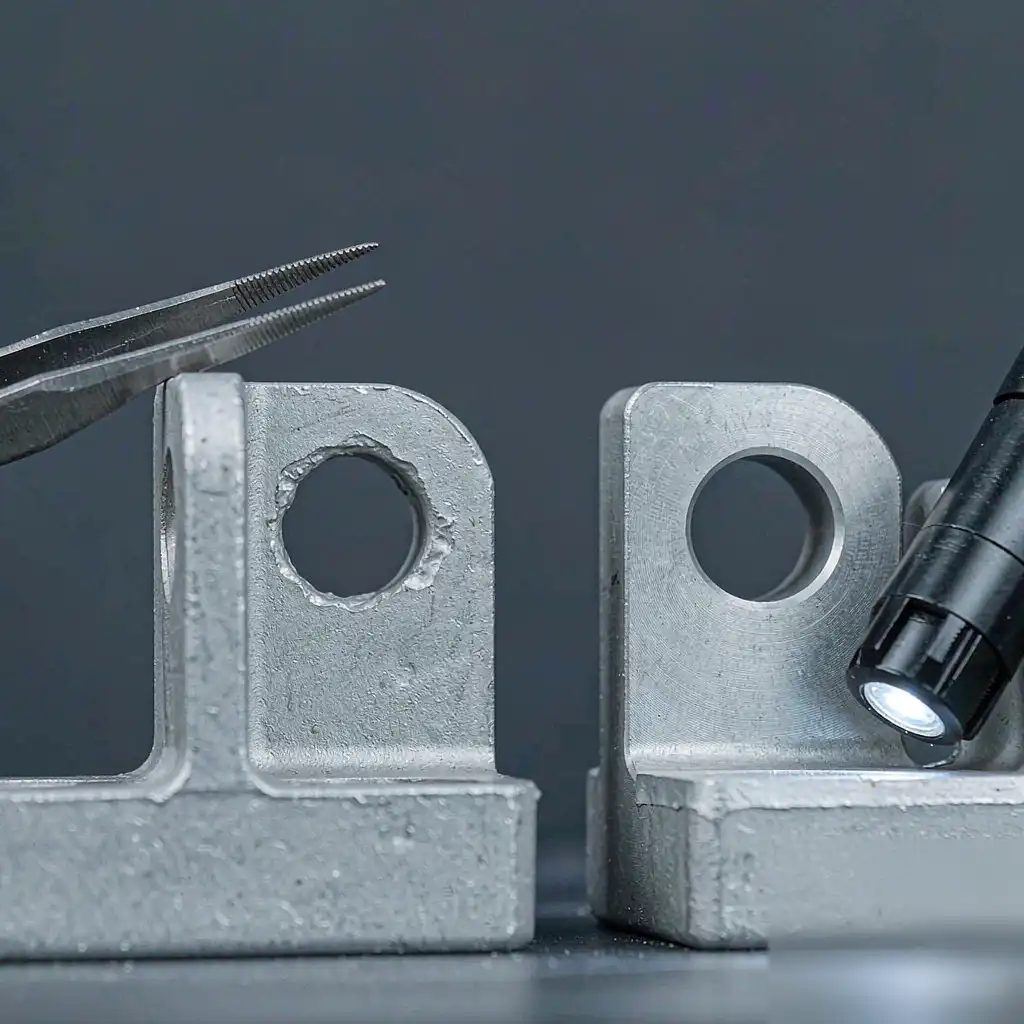
When you tune the process deliberately, you cut cycle time and raise first-pass yield together. Consequently, the effort you put into the deburr cell pays back across the whole value stream, not just at one station.
Start by defining surface quality targets
Most lines deburr to a vague “feels smooth” standard, and that ambiguity guarantees inconsistent results between shifts. Instead, specify edge radius, residual burr height, and surface roughness as measurable numbers on the work order.
Clear targets turn deburring process optimization from guesswork into a controlled variable. As a result, the cell converges on a repeatable process far faster than it would by feel alone.
TIP — Write edge-radius and roughness limits on the work order, not only in a faraway spec document nobody reads at the machine.
Map the burr type before choosing a method
Not all burrs respond to the same tool, and forcing one method across every part wastes time while leaving defects. First, classify the burr by formation: poisson, rollover, tear, or thermal, because each behaves differently under an abrasive.
The table below gives a practical starting point for common casting defects. For a deeper walkthrough on matching cells to part families, see our automated die casting deburring and grinding guide.
| Burr type | Typical cause | Best removal approach |
|---|---|---|
| Rollover | Shearing or punching | Brush or flap wheel, low pressure |
| Poisson | Plastic flow at edge | Abrasive belt with controlled contact |
| Tear | Brittle fracture | Fine file or spindle-mounted point |
| Thermal | Laser or flame cut | Belt grinding, then brush finish |
Choose abrasive media that fits the alloy
Hard ceramics shred soft aluminum but glide over hardened steel, so media selection drives both quality and cost. Match grit size to the target finish, and test a sample before a full production run. A grit that is too coarse leaves scratches, while one too fine simply will not cut the edge.
Cheaper media that loads up quickly costs more in downtime than a premium option that lasts several shifts. In this way, deburring process optimization protects margin instead of just protecting the edge.
Match tool speed and feed rate carefully
Running a brush too fast burns the part, while running it too slow leaves the burr intact and forces a second pass. Find the window where the abrasive engages without smearing material ahead of the edge. Consequently, deburring process optimization lives in this narrow speed-feed band, and it shifts with every alloy.
Document the winning combination per part number so it survives shift changes and vacation cover. Small speed changes of a few hundred rpm often decide between a clean break and a melted edge, so treat them as settings.
PITFALL — Raising spindle speed to “go faster” usually raises heat and ruins the surface instead of cutting cycle time.
Control contact pressure with force feedback
Manual cells drift because operators vary pressure through the shift, especially late in a long run. A robotic cell with force sensing holds pressure constant part after part, regardless of who is on the floor. As a result, you remove the burr without rounding a feature the next operation depends on for a seal.
Pressure control also extends tool life, because over-pressure is the fastest way to destroy a brush or belt. This single change removes the biggest source of variation, making the rest of your optimization work visible.
Optimize the robot path and approach angle
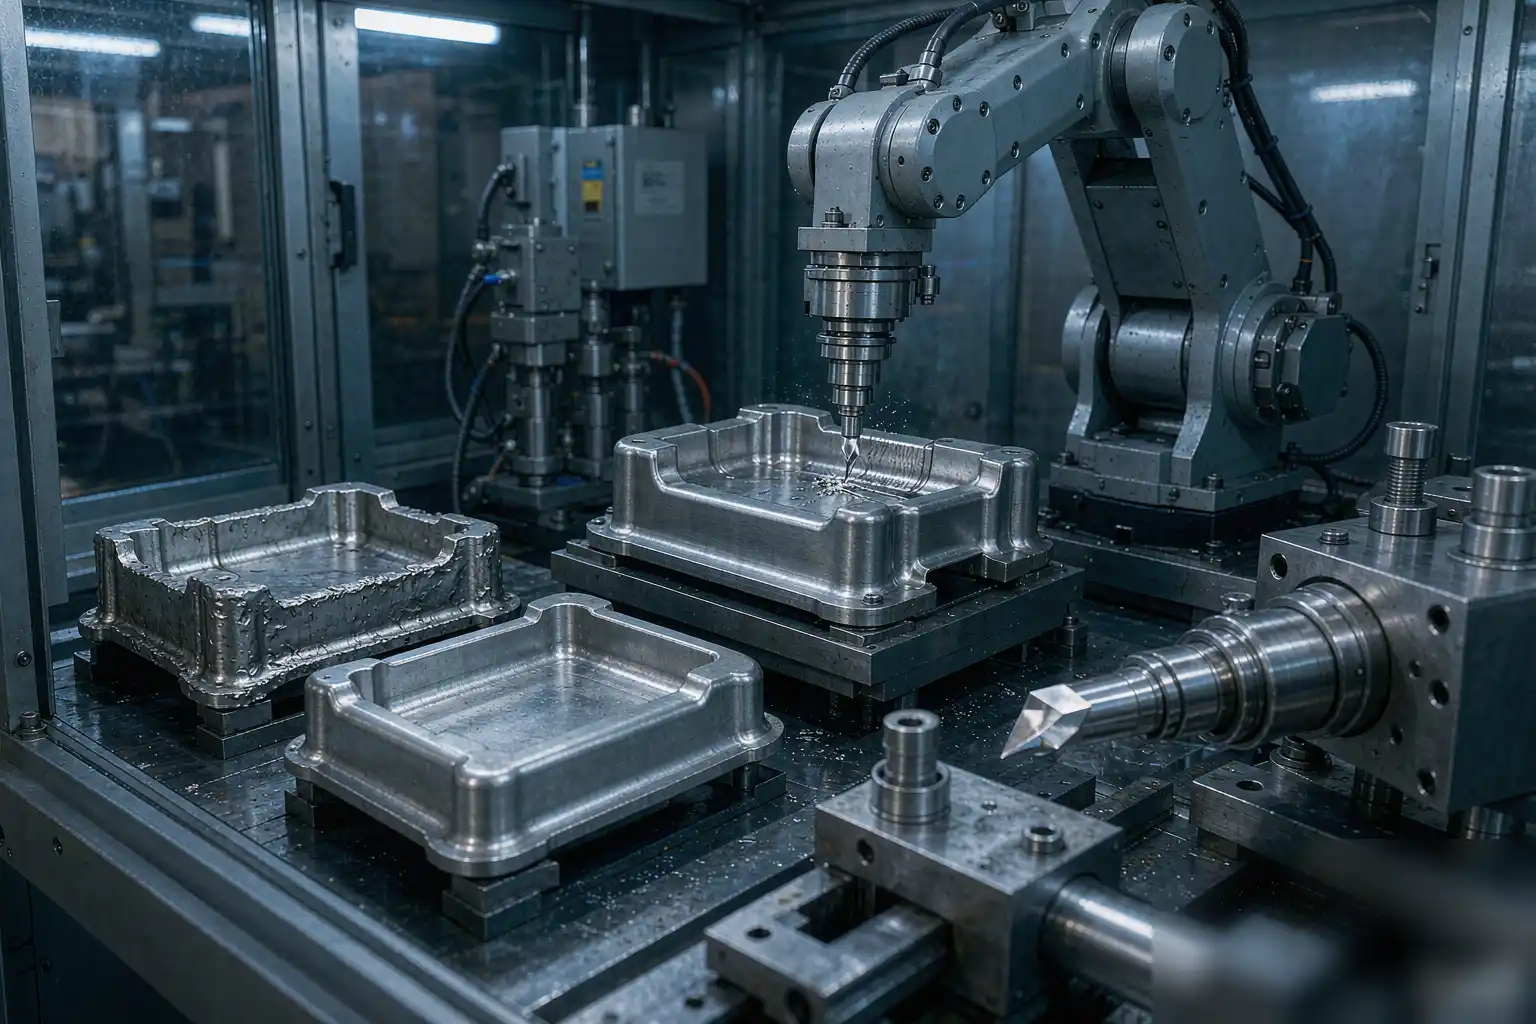
A straight pass rarely follows a curved edge well, so program the tool to track the contour with a consistent offset. Keep the abrasive normal to the work and maintain a steady lead angle through corners and fillets. In addition, slow the corner velocity where burr density spikes and hidden defects accumulate.
Good path design is where deburring process optimization earns its name, since a smart contour pass beats raw power. The checklist below prevents the most common programming mistakes we see on newly automated lines:
- Teach the path on the worst-case part, not the easy one that hides problems.
- Use a small overlap on each pass to avoid missed strips along the edge.
- Re-run the simulation after any fixture, tool, or program change.
- Log path revisions with a note so you can revert a bad edit fast.
Manage heat buildup during grinding
Friction at the edge raises temperature, and overheated zones cause micro-cracking or discoloration that rejects the part at inspection. Therefore, break long passes into shorter segments and let the surface cool between them. A coolant or forced-air jet keeps the edge in the safe thermal zone.
Heat is also the enemy of dimensional stability, because a hot part grows and then shrinks as it cools, moving your datum. This is why deburring process optimization and thermal management are the same conversation.
Build a coolant and lubrication strategy
Dry deburring works for light burrs, but anything aggressive needs fluid to carry swarf away from the cutting zone. Pick a coolant compatible with your alloy to avoid staining, especially on aluminum. Furthermore, filter the slurry so embedded grit does not scratch the finished face on the return pass.
A neglected coolant tank becomes a lapping compound full of spent abrasive that damages good surfaces. Clean fluid is a cheap, high-leverage input to deburring process optimization that visitors can judge at a glance.
Avoid the over-deburring trap
Operators often remove more than necessary to feel safe, which rounds edges past tolerance and weakens the part. Thus, deburring process optimization is as much about restraint as it is about removal power and aggressive tooling. A defined window prevents both leftover burrs and over-rounded, out-of-spec edges that fail assembly.
Over-deburring also wastes cycle time on every part, quietly inflating your cost per unit across the order. Measure the edge after the change and you will usually find you were removing twice what the print required.
TIP — A defined edge-break window prevents both leftover burrs and over-rounded, out-of-spec edges that later reject at assembly.
Standardize fixtures and part location
If the part shifts a single millimeter, the robot path misses the burr entirely, so fixturing precision feeds directly into edge quality. Use locating pins and repeatable clamps rather than loose supports that depend on operator care. Likewise, verify position with a quick vision or probe check at load.
A stable fixture also makes your data trustworthy, because variation then comes from the process, not from the part jumping around. Invest in the fixture first, because no programming fixes a part that is not where the robot expects it.
Integrate in-line inspection
Waiting for offline quality control means defects travel far before detection, multiplying scrap and eroding customer trust with every shipment. Add a probing or vision check at the cell so a missed burr halts the line immediately. Consequently, you close the loop and make optimization self-correcting.
In-line checks also generate the trend data you need to catch drift before it becomes rejection. A small rise in edge roughness today predicts a bigger failure next week if ignored. Treat the inspection feed as the dashboard for your cell, and review it as routinely as output count.
Maintain tooling and consumables on a schedule
A worn brush polishes instead of cuts, so performance fades long before the tool looks obviously bad to the eye. Track run hours and replace media at a threshold, not at failure, to keep the process inside its validated window. Additionally, dress belts and balance spindles to keep the finish consistent.
Reactive maintenance is the silent killer of deburring process optimization, because quality slips a little each shift until someone notices. Pair it with a weekly audit and the cell holds its edge far longer than one run until it breaks.
Train operators and document the process
A tuned cell still fails if the next shift changes three settings without telling anyone or understanding why they matter. Capture the validated parameters in a controlled work instruction and train against it until the steps are second nature. Then, when staff rotate, quality stays put because the process holds the standard.
Documentation also shortens the learning curve for new hires from weeks to days, which protects output during busy periods. In this sense, deburring process optimization is partly a training problem wearing a machining costume.
Broader cell design and part-handling ideas are covered in our foundry automation deburring and polishing guide, which complements the tuning steps above with layout and throughput thinking.
Protect soft alloys from staining
Aluminum and zinc castings react with the wrong compound or trapped moisture and show stains that look like corrosion to a careful inspector. Choose neutral coolants and dry parts promptly after the final pass to keep the surface clean and saleable. For the full checklist, review our surface finishing for aluminum castings resource before scaling an aluminum line.
Staining is expensive because the part can be dimensionally perfect and still get rejected on appearance alone. A little discipline at the end of the line preserves all the value created during the optimized deburring steps before it.
Measure the ROI of deburring process optimization
Optimization only sticks when the numbers justify it, so track scrap rate, cycle time, and consumable cost before and after each change. Attribute improvements to the specific setting you adjusted to prove causality rather than claiming vague gains. Over a quarter, even a few points of yield recovery typically pays for the upgrade.
Build a simple one-page scorecard per part family and review it monthly with the team that runs the cell daily. This feedback loop is what turns a one-time project into a durable capability the plant can rely on.
What good looks like
Plants that formalize deburring process optimization commonly report 20 to 40 percent lower scrap on deburr-sensitive parts and steadier throughput week to week. The gains come from fewer rejects, less rework, and longer tool life rather than from a single magic setting or one expensive machine purchase.
Product names and standards evolve; verify the current edition before specifying.