Medical Instrument Finishing: Meet Hygiene Standards
A surgical instrument supplier failed an audit because the hand-finished housings held residue in the pits and seam lines the finisher missed. “It looked clean,” the quality lead said, “until the tracer came back.” Medical instrument finishing is a hygiene job: the surface has to be smooth and defect-free so it sterilizes, not just bright. That is where automation beats the hand.
This guide covers how to finish medical instrument housings to the hygiene standard the audit checks.
Why Smooth Means Sterile
A medical surface has to be smooth so residue and biofilm cannot lodge through sterilization. Hand finishing leaves pits, seam lines, and haze the eye misses and the tracer finds. The finish has to be uniform and defect-free, not just shiny.
How Robotic Finishing Holds the Surface
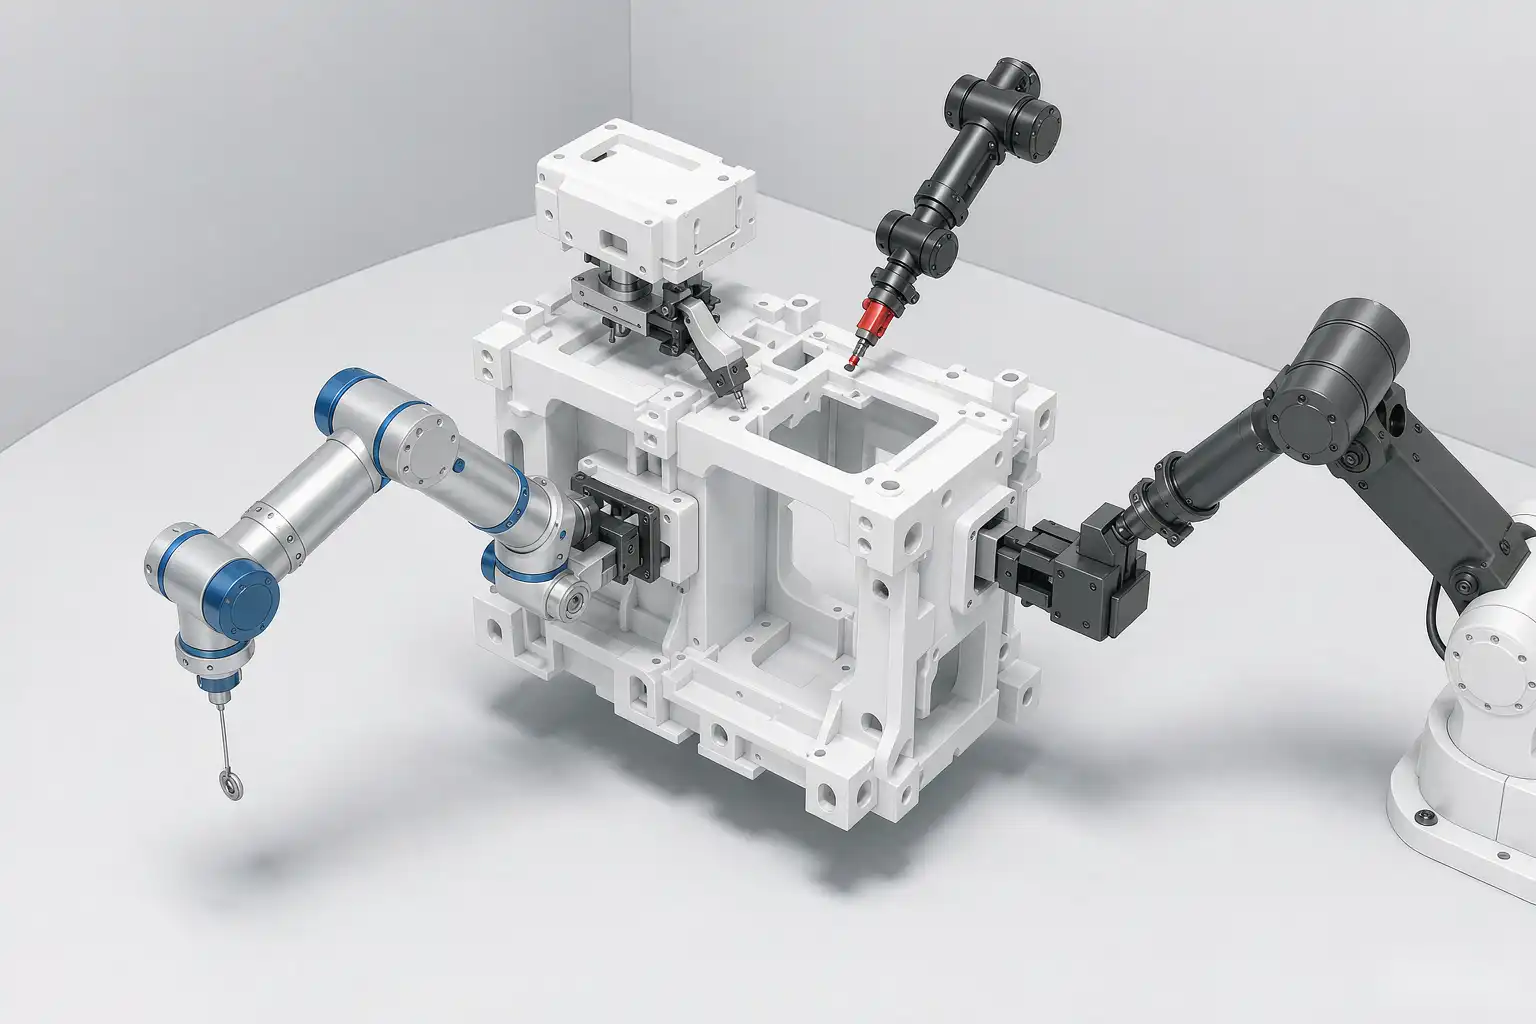
A robotic cell locates each housing on a fixed datum and presents it to compliant tools at locked force, sweeping the same even path every cycle. Force control is what keeps the surface smooth instead of dark-at-center. The result is a uniform, defect-free finish that sterilizes — which is what the standard needs. An even surface is the same discipline we apply on sanitary ware polishing for a uniform finish.
The same even-face logic shows up on flange finishing for a uniform surface.
What Has to Be True First
Good Base Finish
Finishing only evens what it is given. If the base is pitted, the robot chases it and the surface stays uneven. Stable base first.
Compliant Tools
Medical grades need compliant tools that follow the form without marking it. Rigid tools scar the surface the audit rejects.
Locked Force
Fixed-path without force feedback leaves the center dark and the rim bright. Force control holds the whole piece even.
Three Mistakes Buyers Make
1. Finishing inconsistent base. Automation exposes a pitted surface. Fix the source first.
2. Using rigid tools. They mark the surface the audit rejects. Compliant tools hold the finish clean.
3. Ignoring the curves. The corners and bores are where residue sits. Program the path to cover them, not just the flat.
Frequently Asked Questions
Does robotic finishing help the audit, or just looks?
Both. A uniform, pit-free surface is what sterilizes; hand haze leaves the weak spots the tracer finds. Evenness is the hygiene defense.
Which instruments suit automated finishing?
Housings, handles, and trays with a defined surface. Mixed shapes run with quick-change fixtures.
How many shapes fit one cell?
Several, with quick-change fixtures and stored programs. Design changeover in so mixed-SKU runs do not stall the cell.
This guide was prepared by the application engineering team at Xiamen Dingzhu Intelligent Equipment Co., Ltd. (DZ Machinery), which designs and commissions deburring, grinding, polishing, and die-casting lines for manufacturers across more than a dozen countries. Finish notes reflect typical medical instrument outcomes; confirm against your alloy and hygiene spec before purchase.
Tags: medical housings, robotic finishing, surface finish, surface quality, polishing, stainless steel